Making The Most Out Of Your iPhone Camera

Whenever I see photography posts in the blogosphere there is always the common theme of not needing a DSLR and using your iPhone instead. I've written those words myself and I can imagine after a while that they can become incredibly jarring. The majority of us own some sort of smart phone. And right now we're incredibly lucky that those phones have brilliant cameras and with every new release, they get even better. However upon first glance, they can look pretty poor but once you get to know the functions and how to make the most out of them you can achieve incredible images.
TAP TO FOCUS
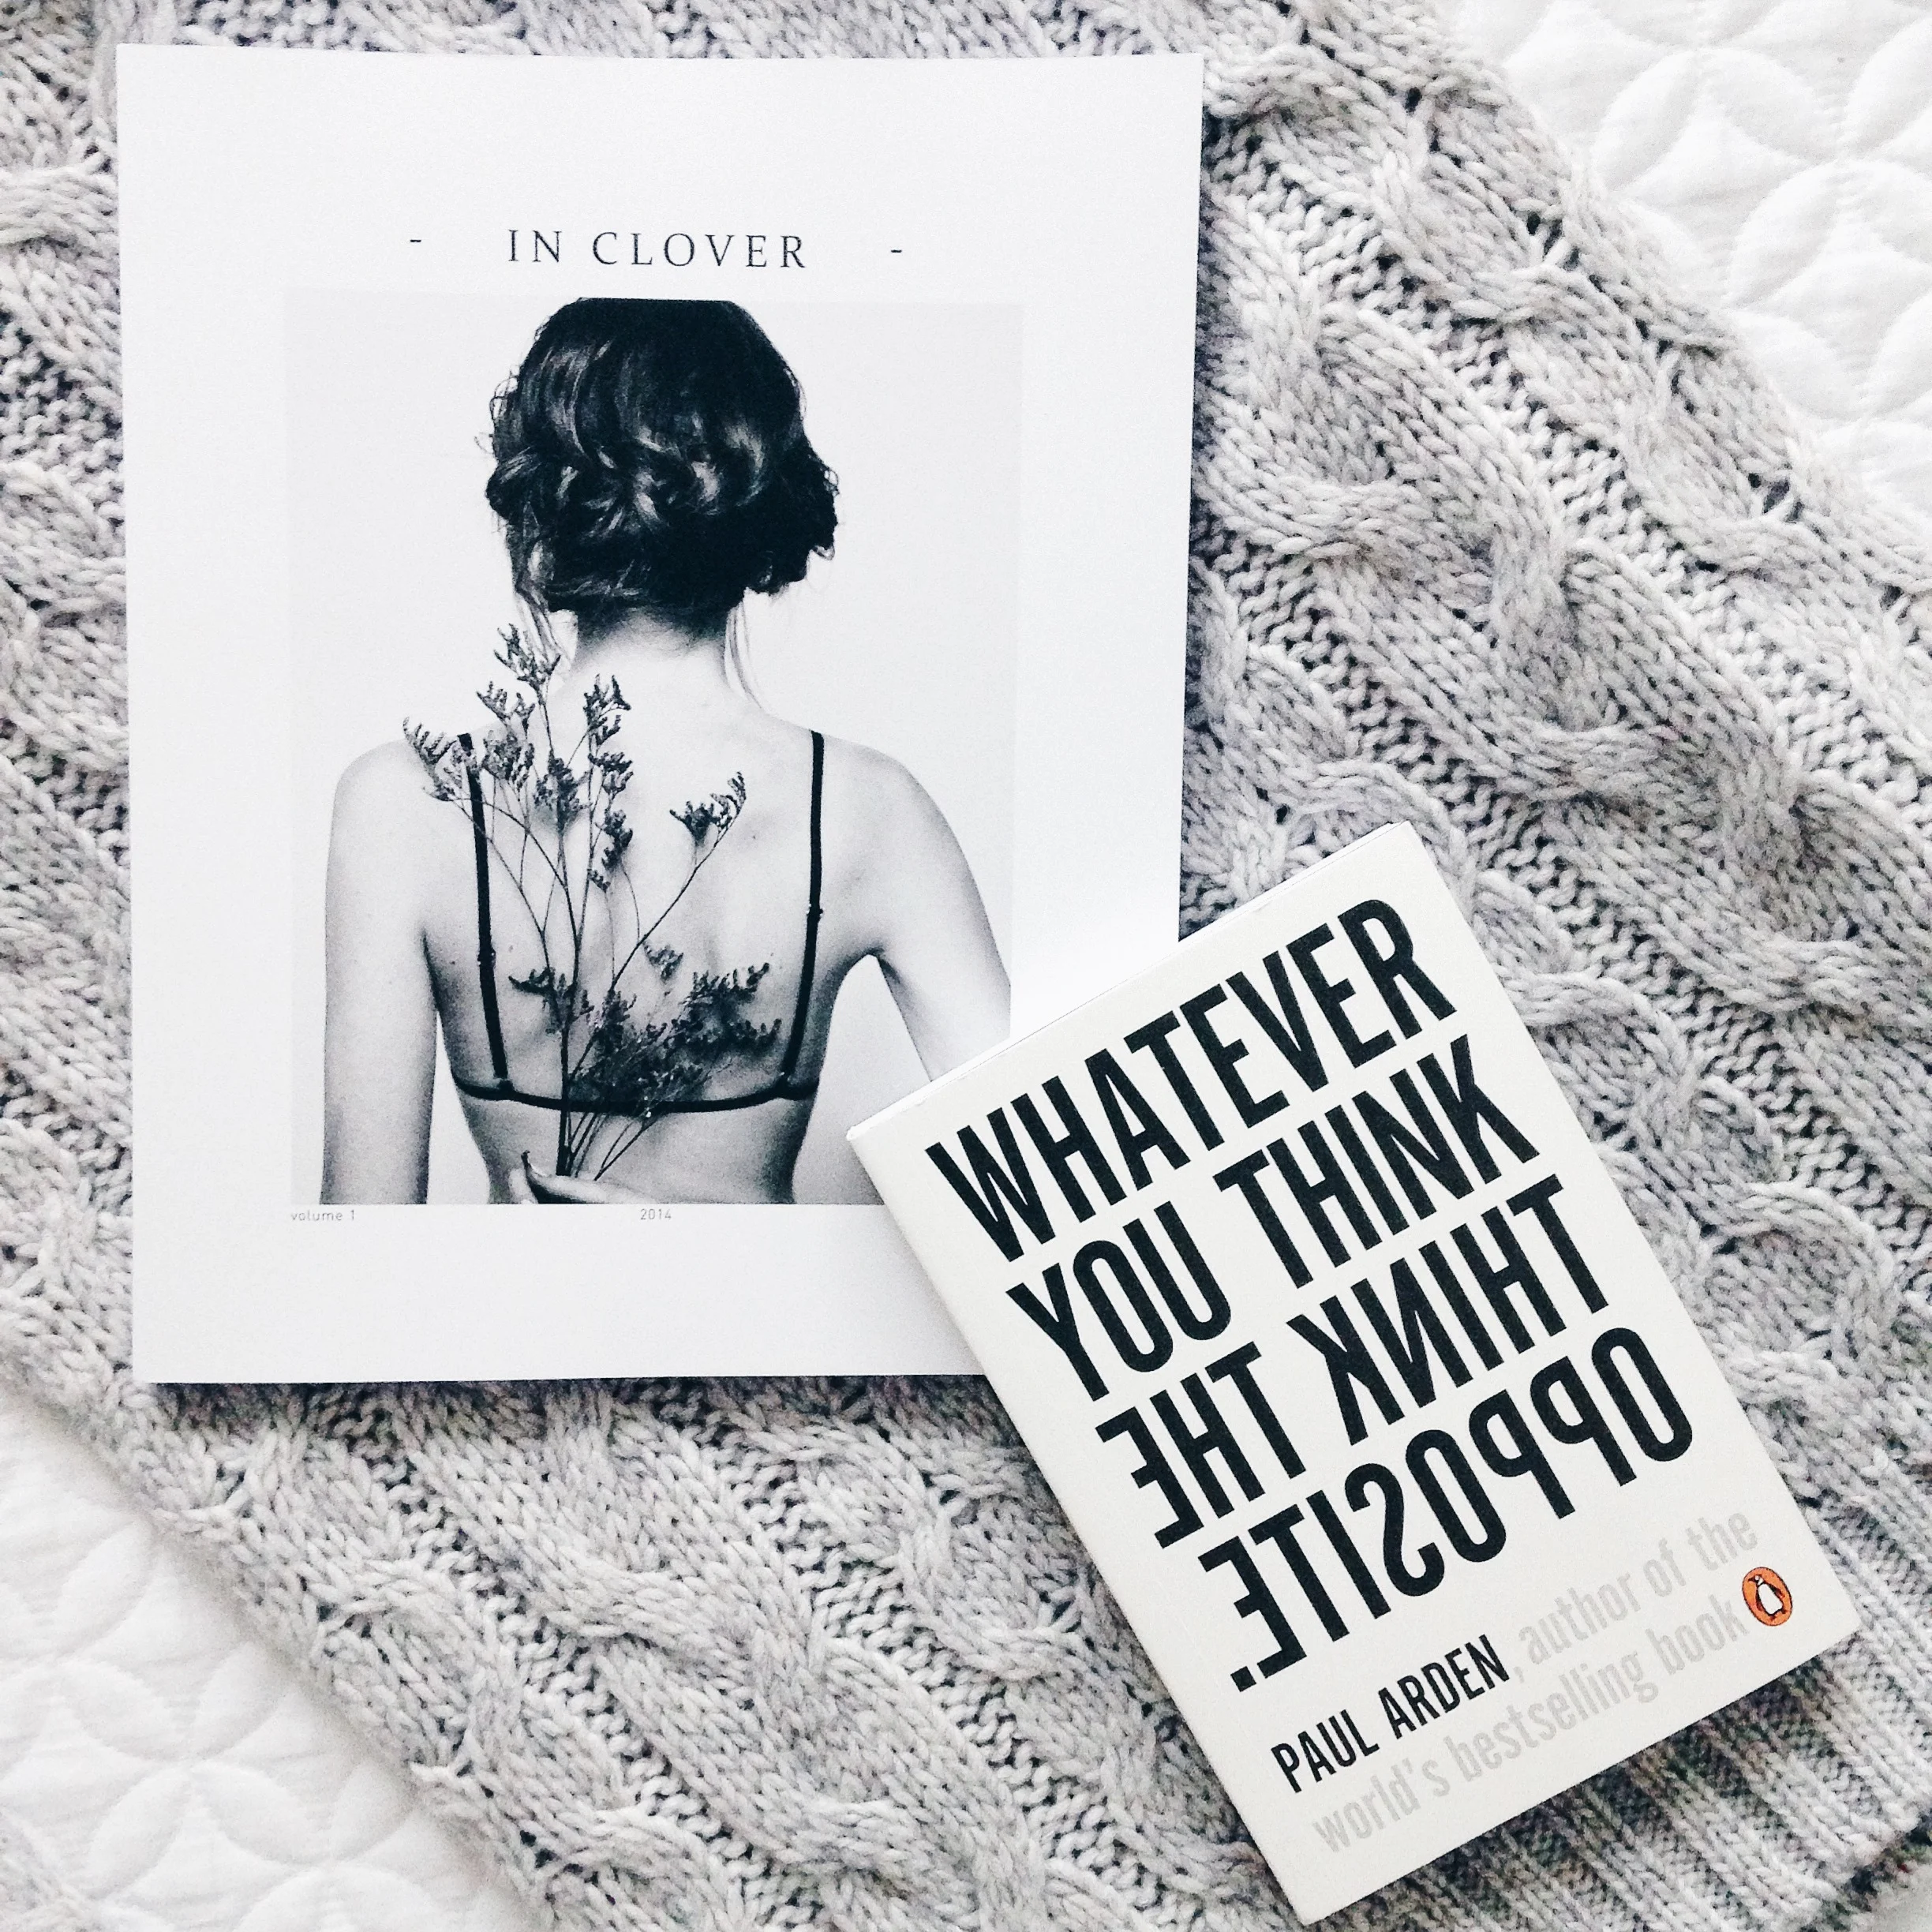
The best and most useful thing to remember when using your iPhone is to tap the screen where you want the image to focus. No matter how much you try and hold your phone steady so everything shifts into focus. It won't be as sharp as it will when you simply tap the screen. In certain scenarios, you can even achieve a shallow depth of field by using this feature which is a trait commonly linked to SLR's and 50mm lenses.
HDR
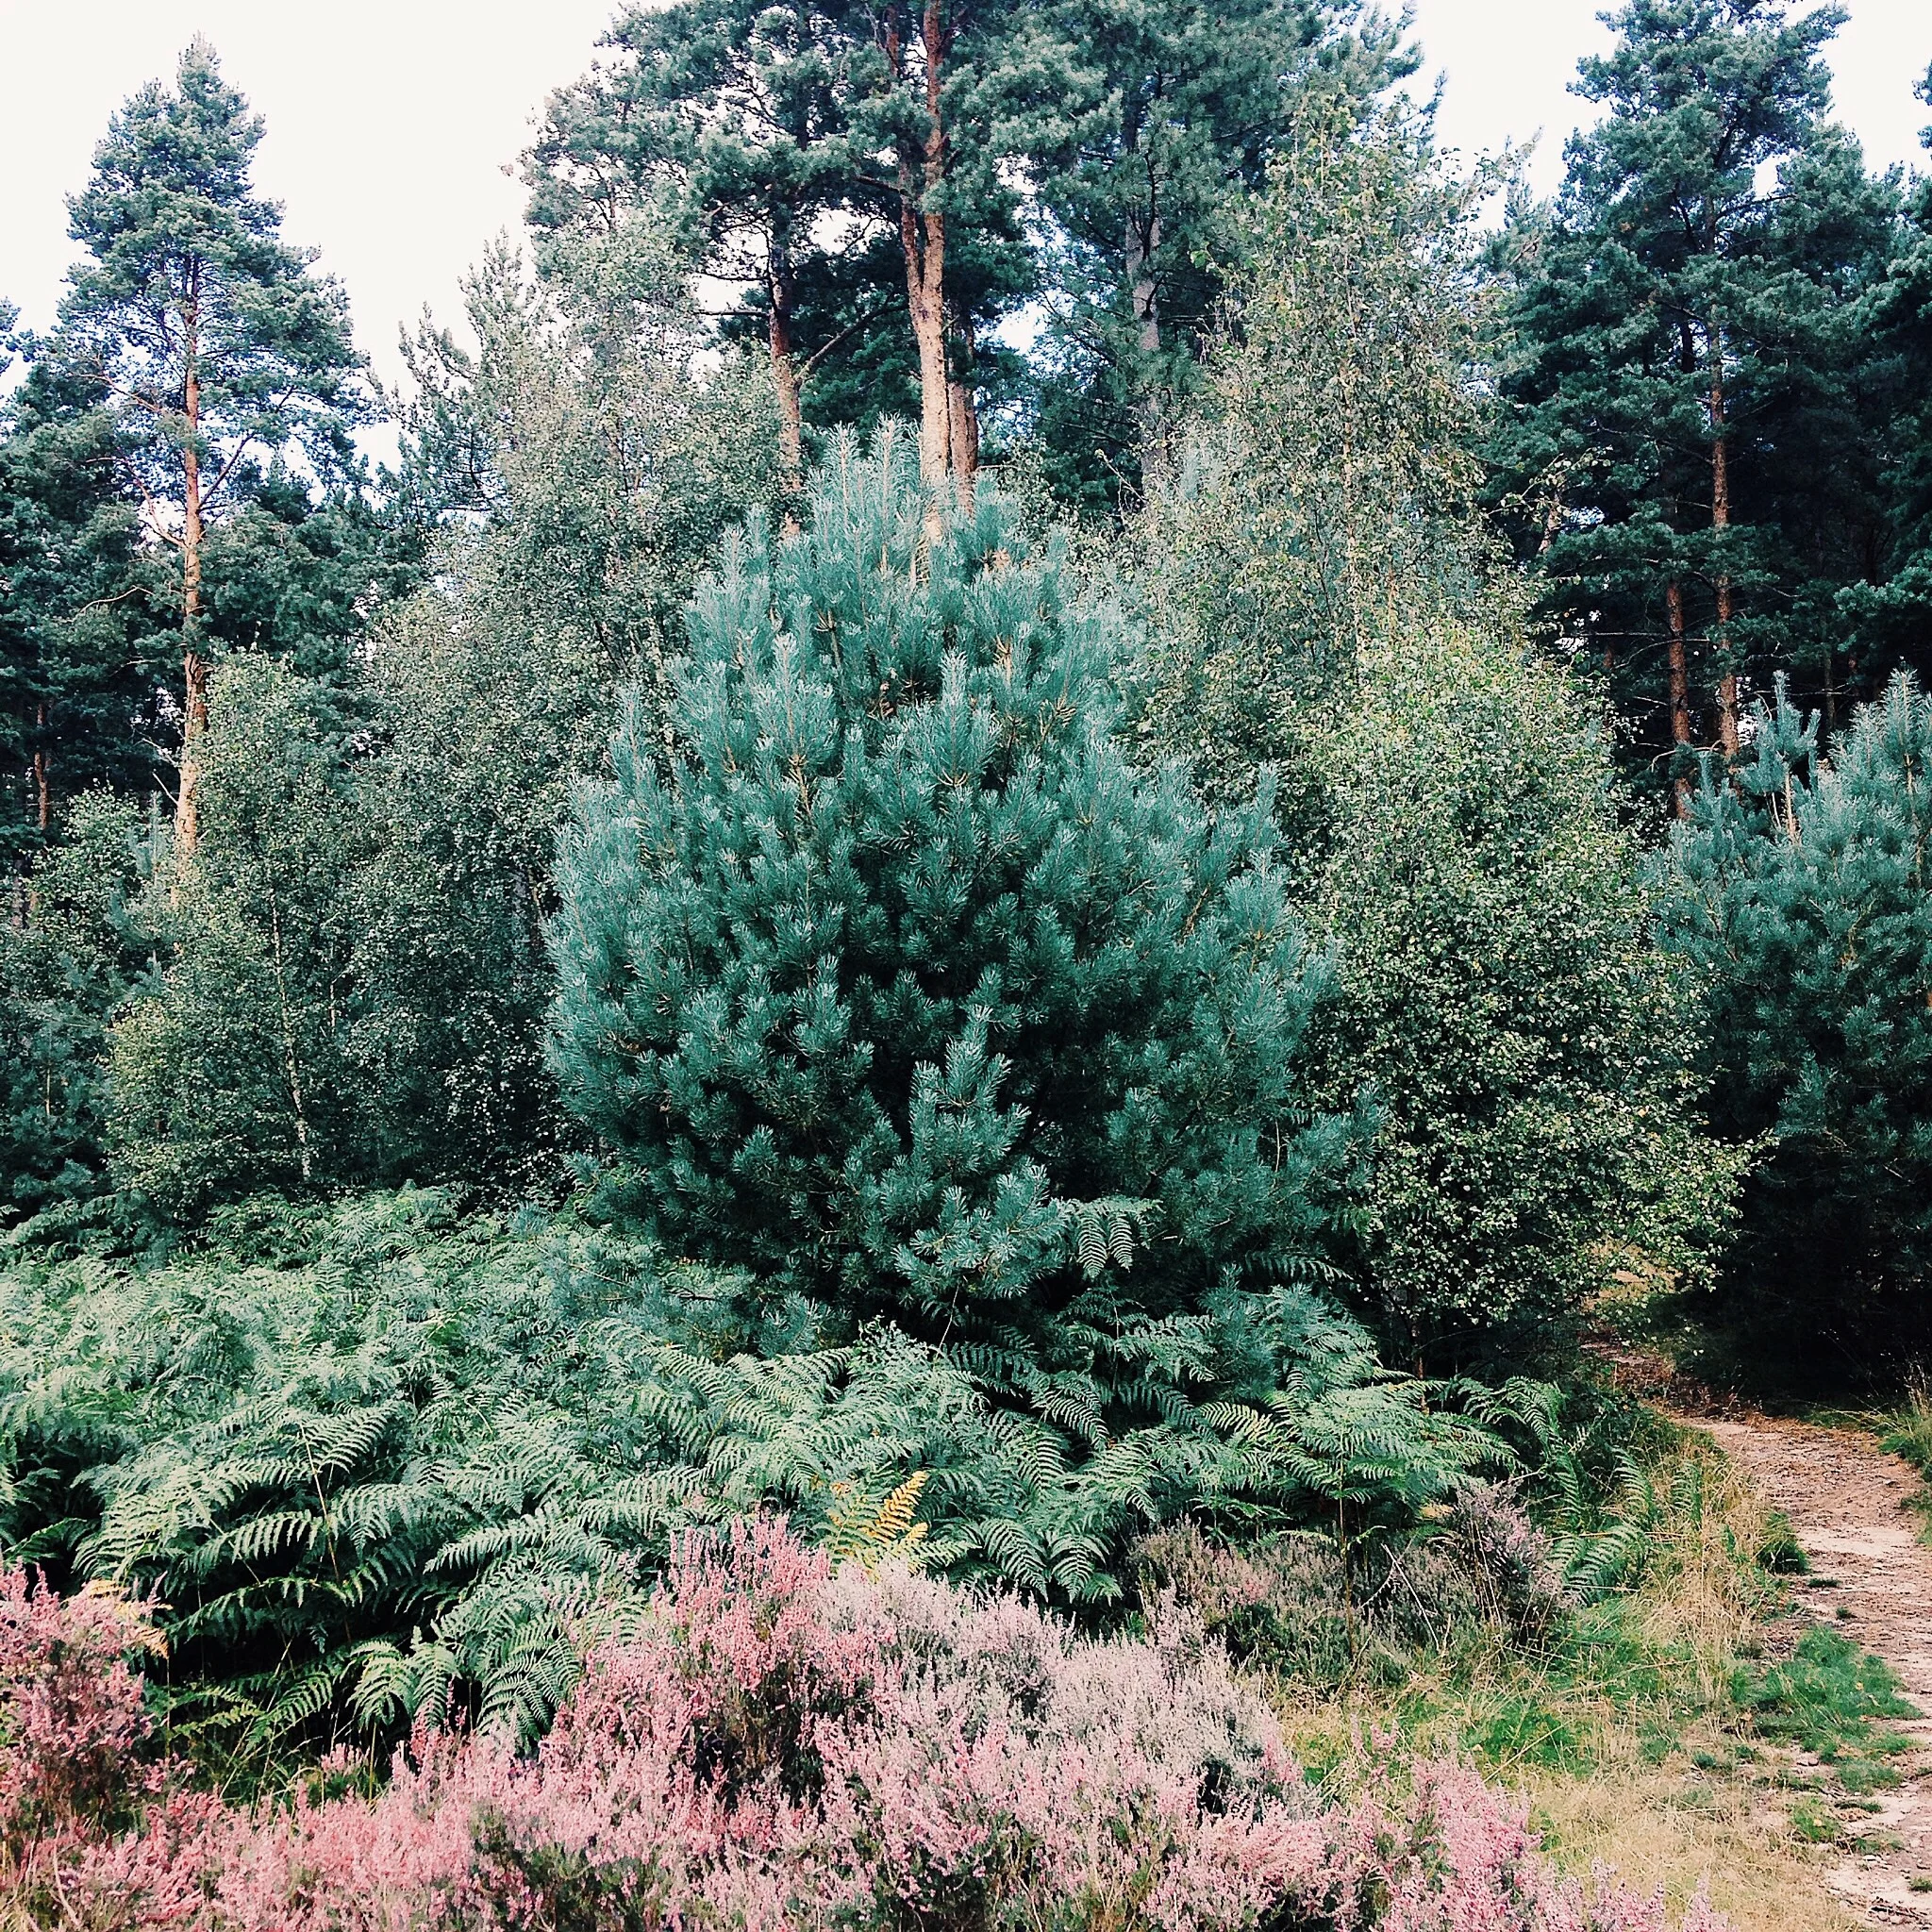
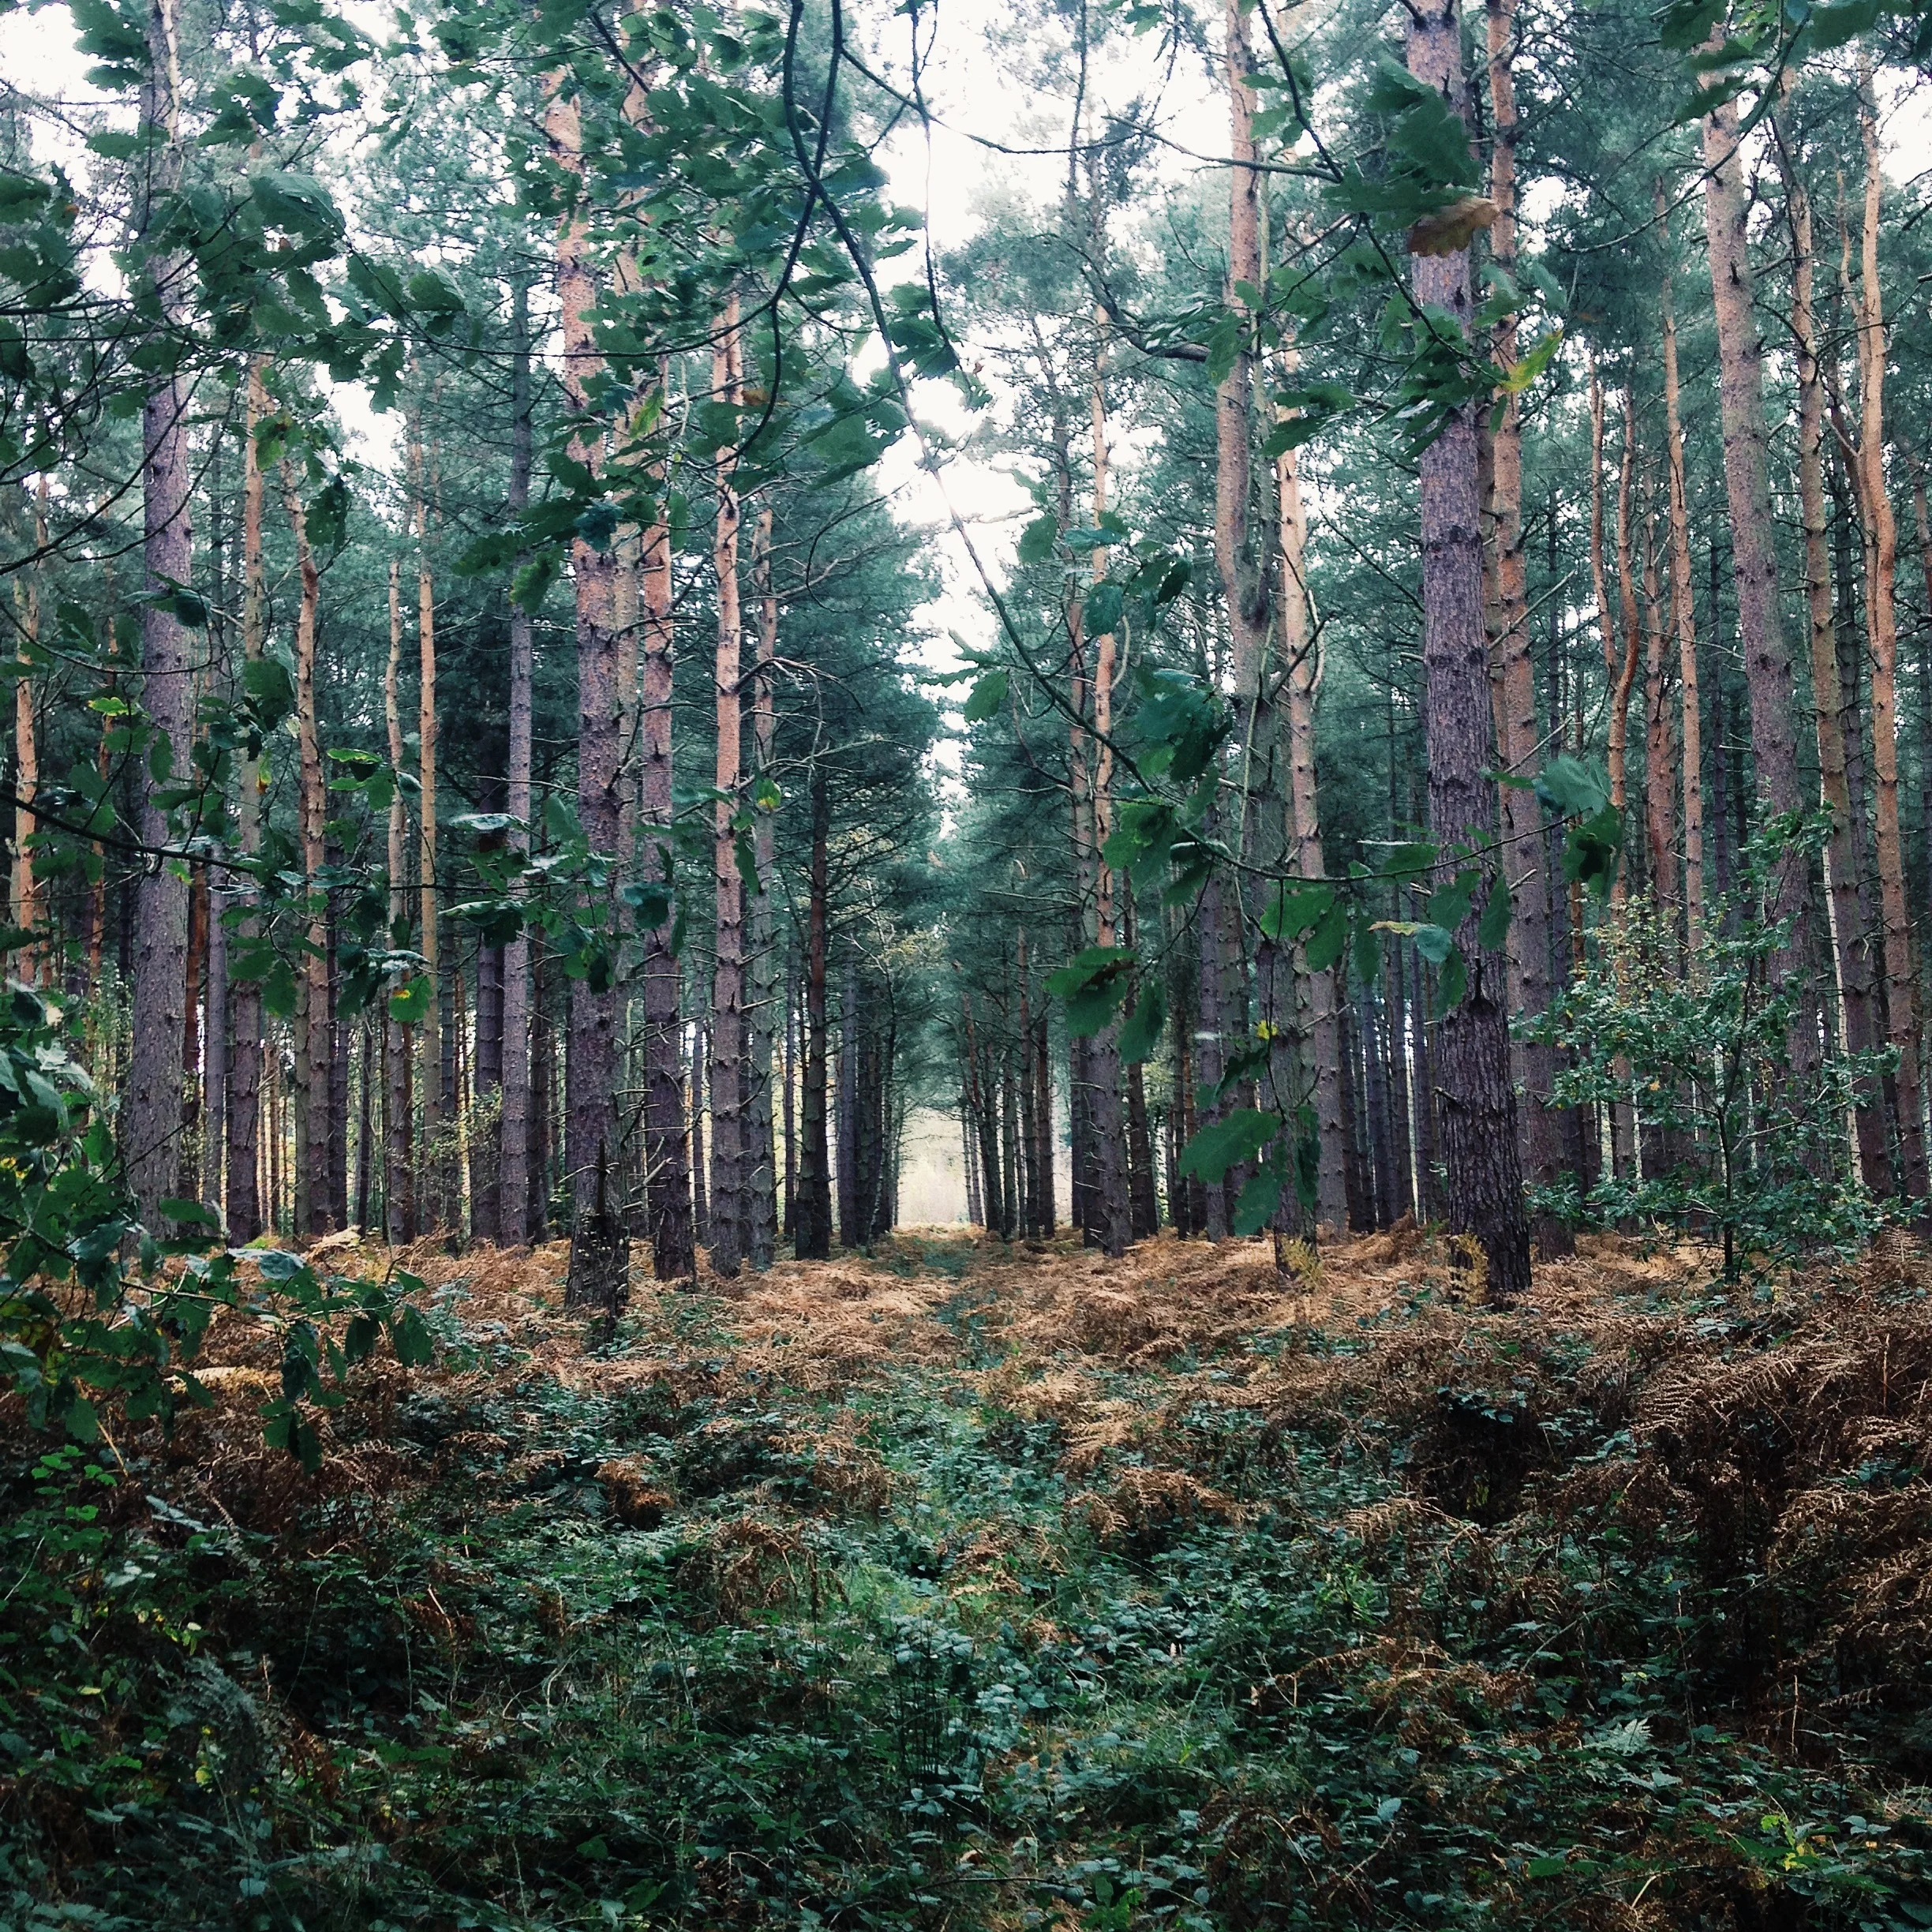
The HDR function is not something I use often as it can make images look slightly strange if used on the wrong subject. HDR stands for High Dynamic Range and it takes the photo using three different exposures. I've found that this function always works best with landscape images opposed to beauty products. If there is movement in the photograph then it can create an odd almost ghost like motion so it's important to be wary of that.


USE THE GRID
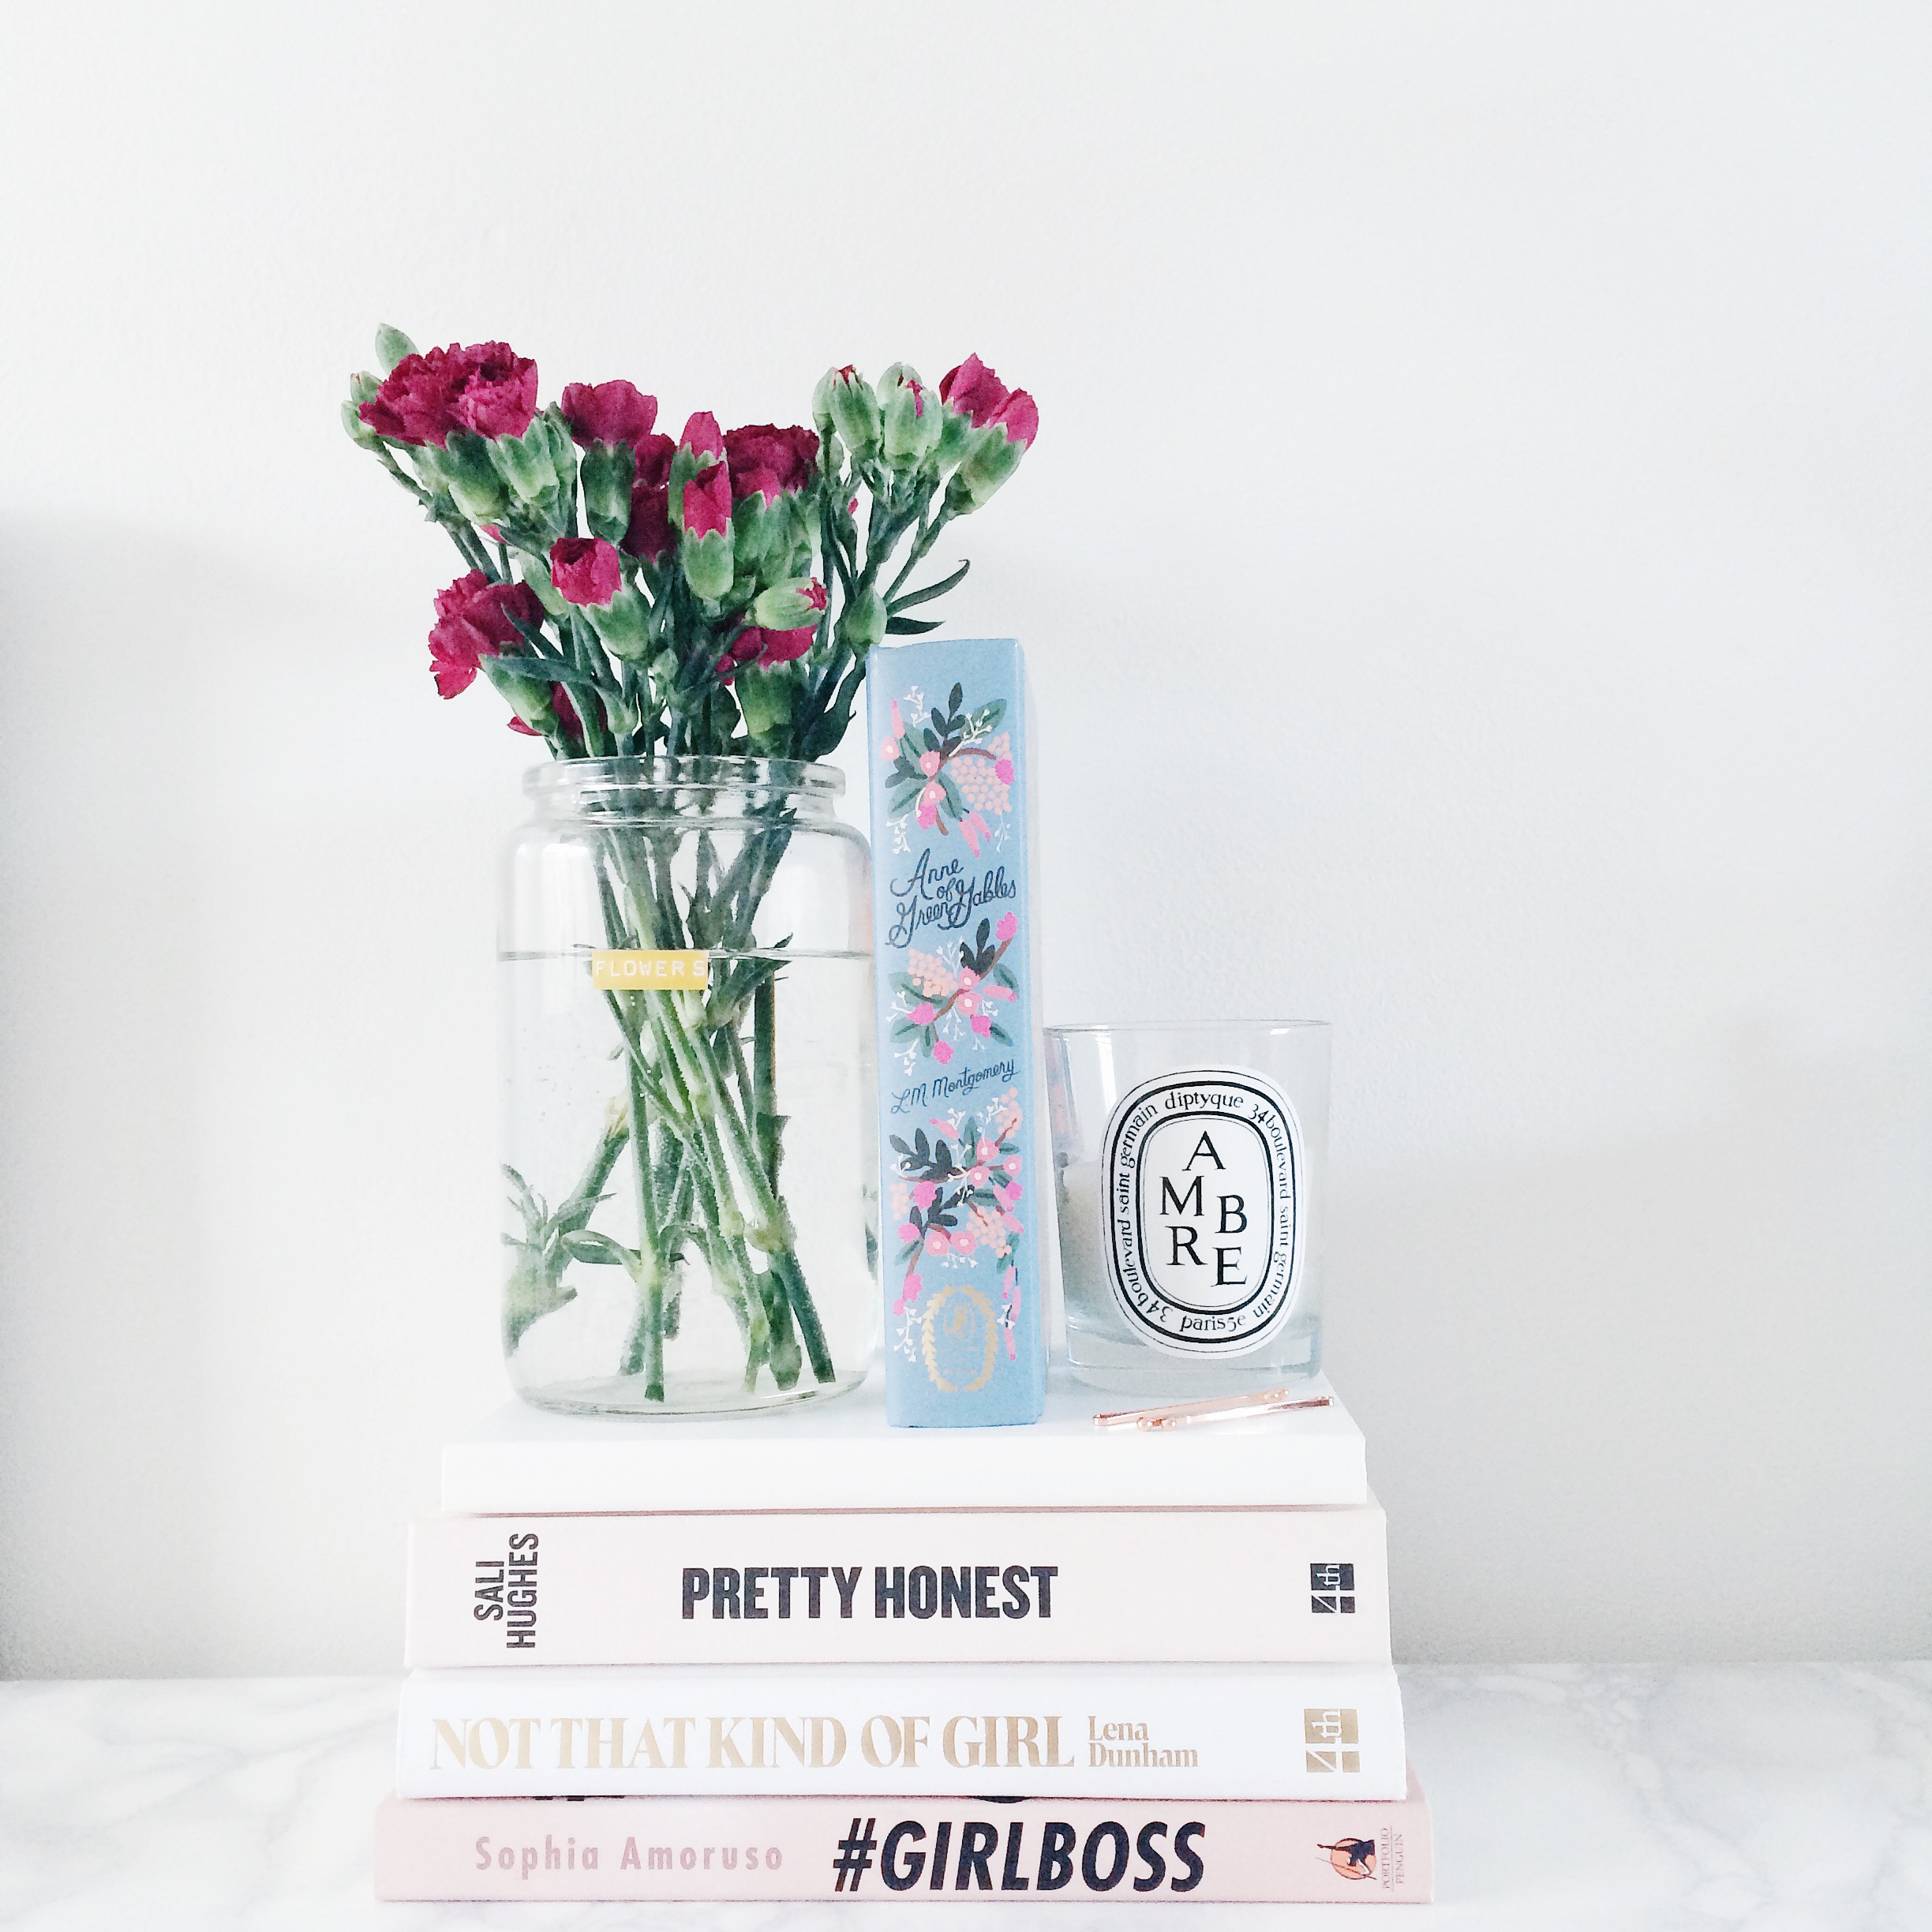
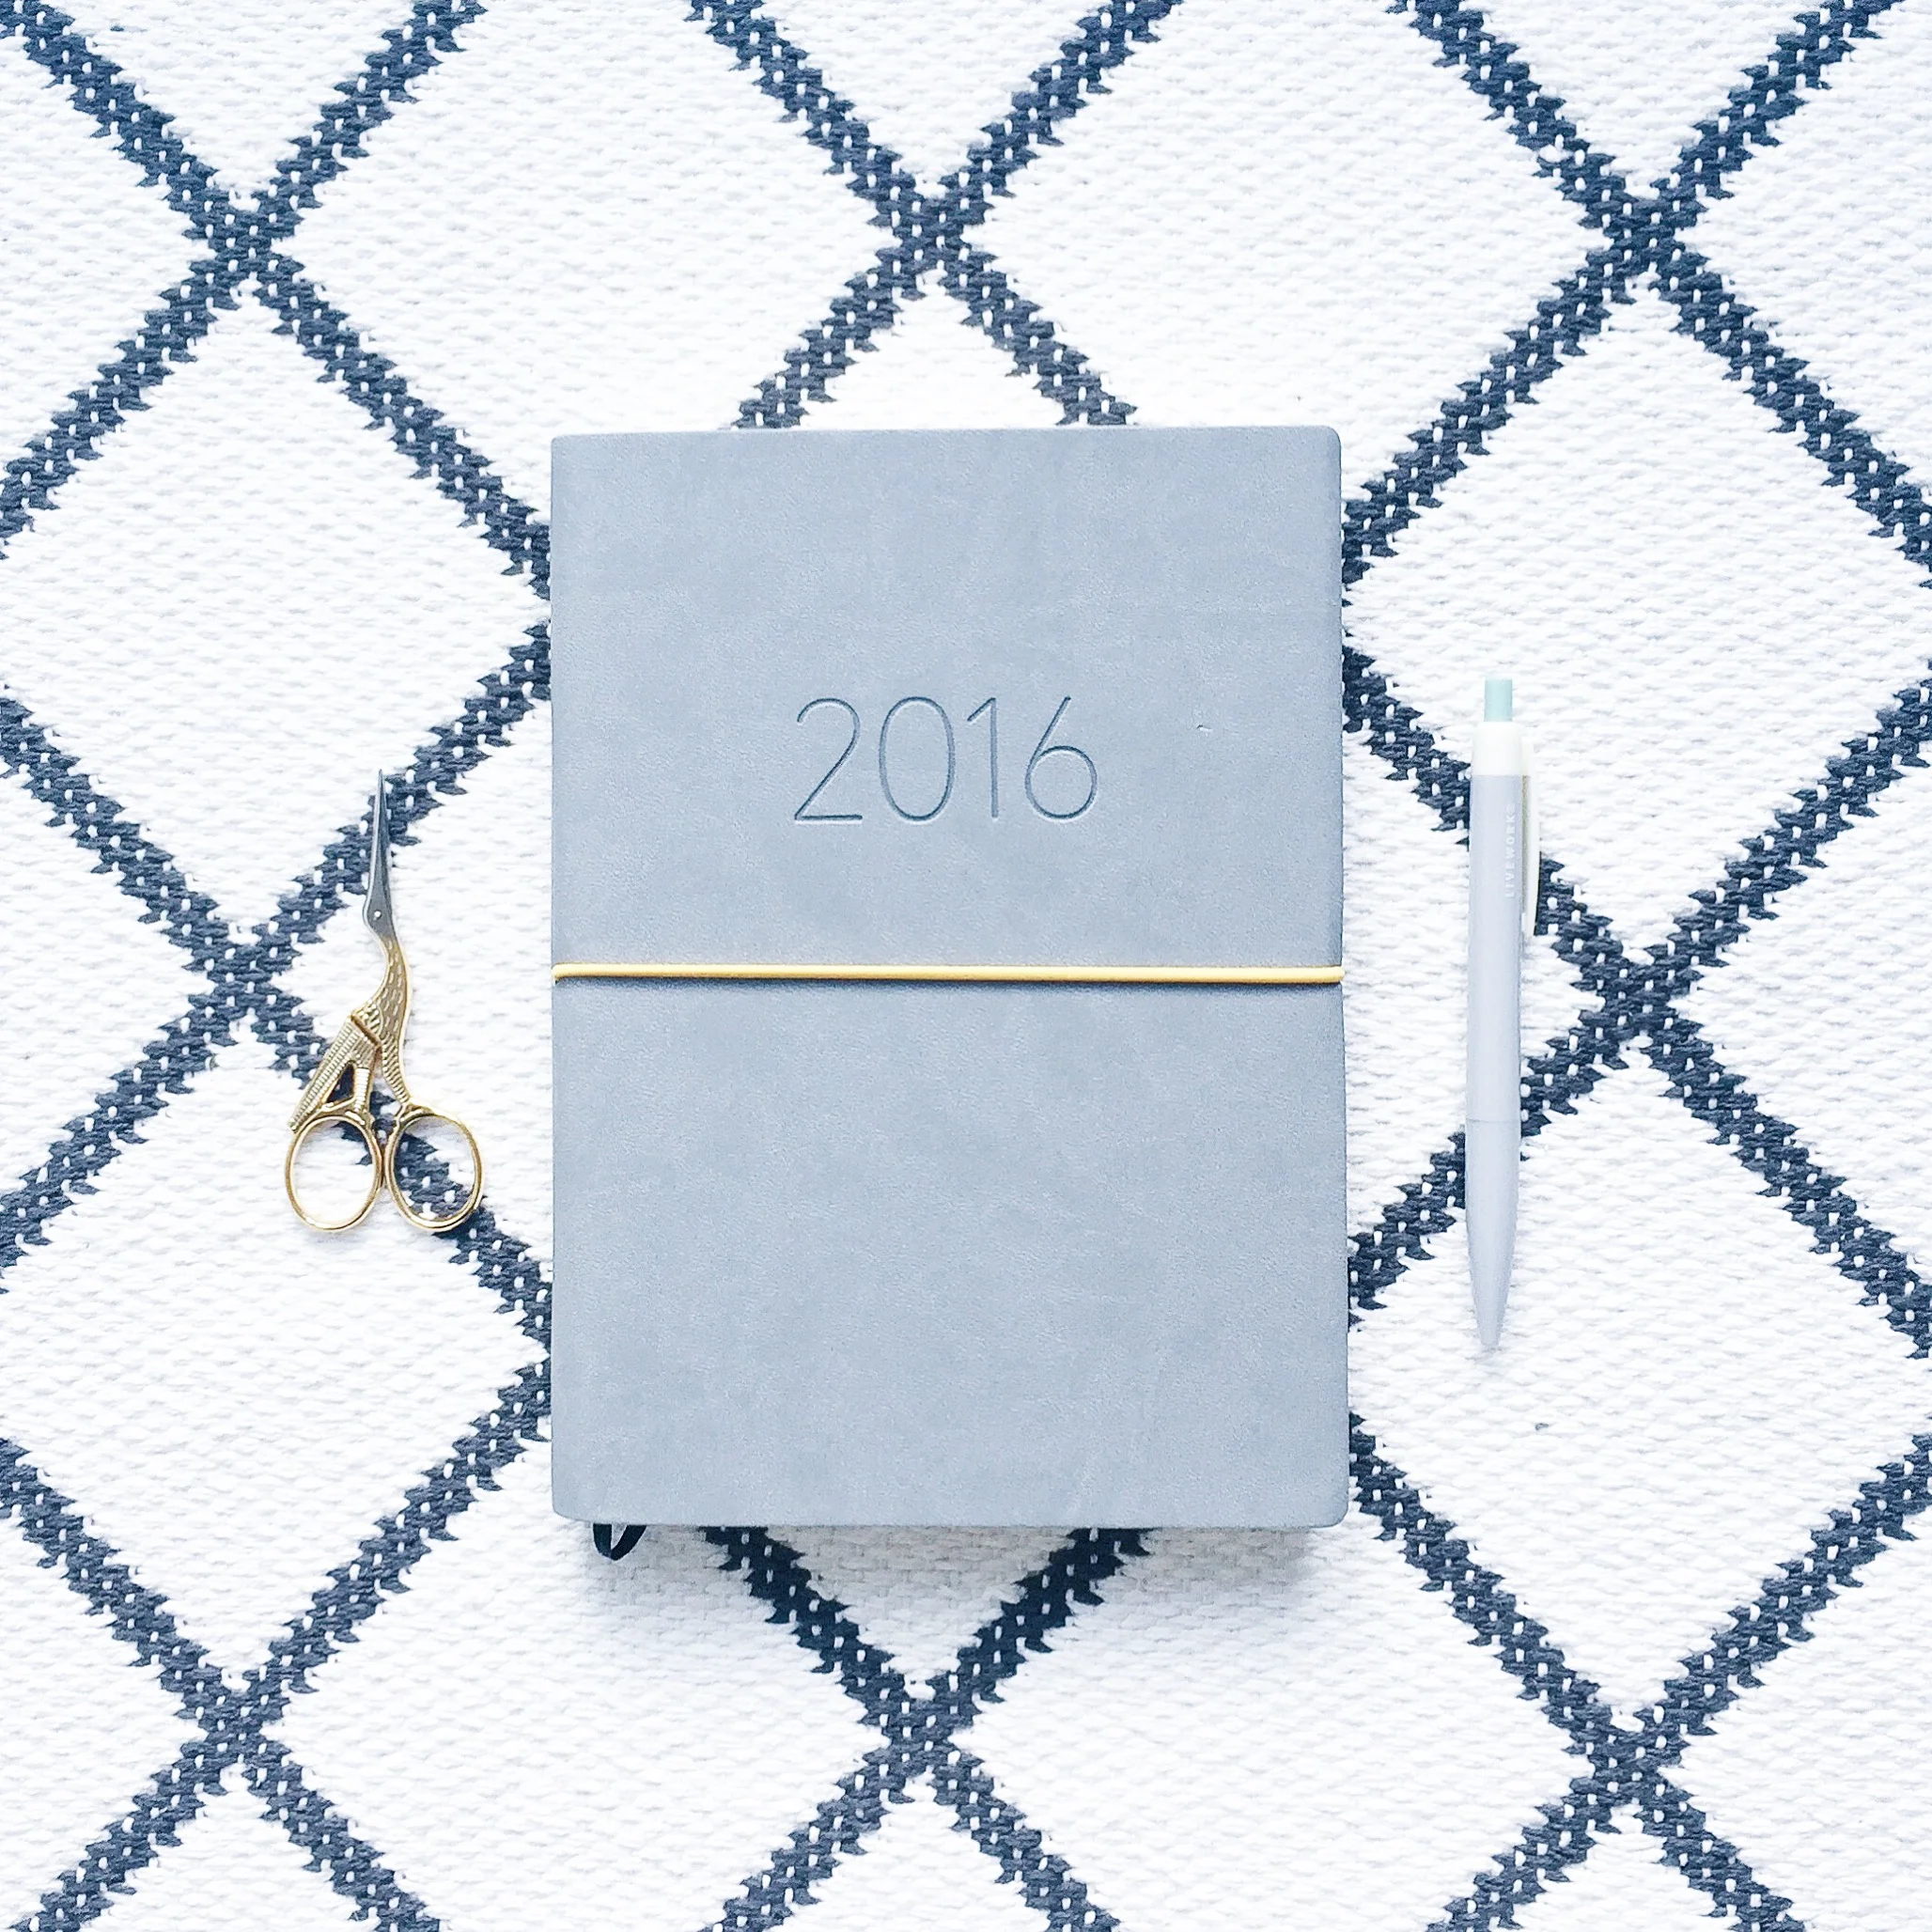
Some might think the grid on the screen is a little bit of a pain but personally, I think it's a great tool when you use it to its advantage. The grid helps create leading lines and following the rule of thirds with absolute ease. When trying to make sure an item is straight in the image the lines make it incredibly easy to match up so you don't have to fix it in the editing process which can often lead to warping the image. You can also use the grid feature to just simply practice composition without even taking a single picture.
TAP TO EXPOSE
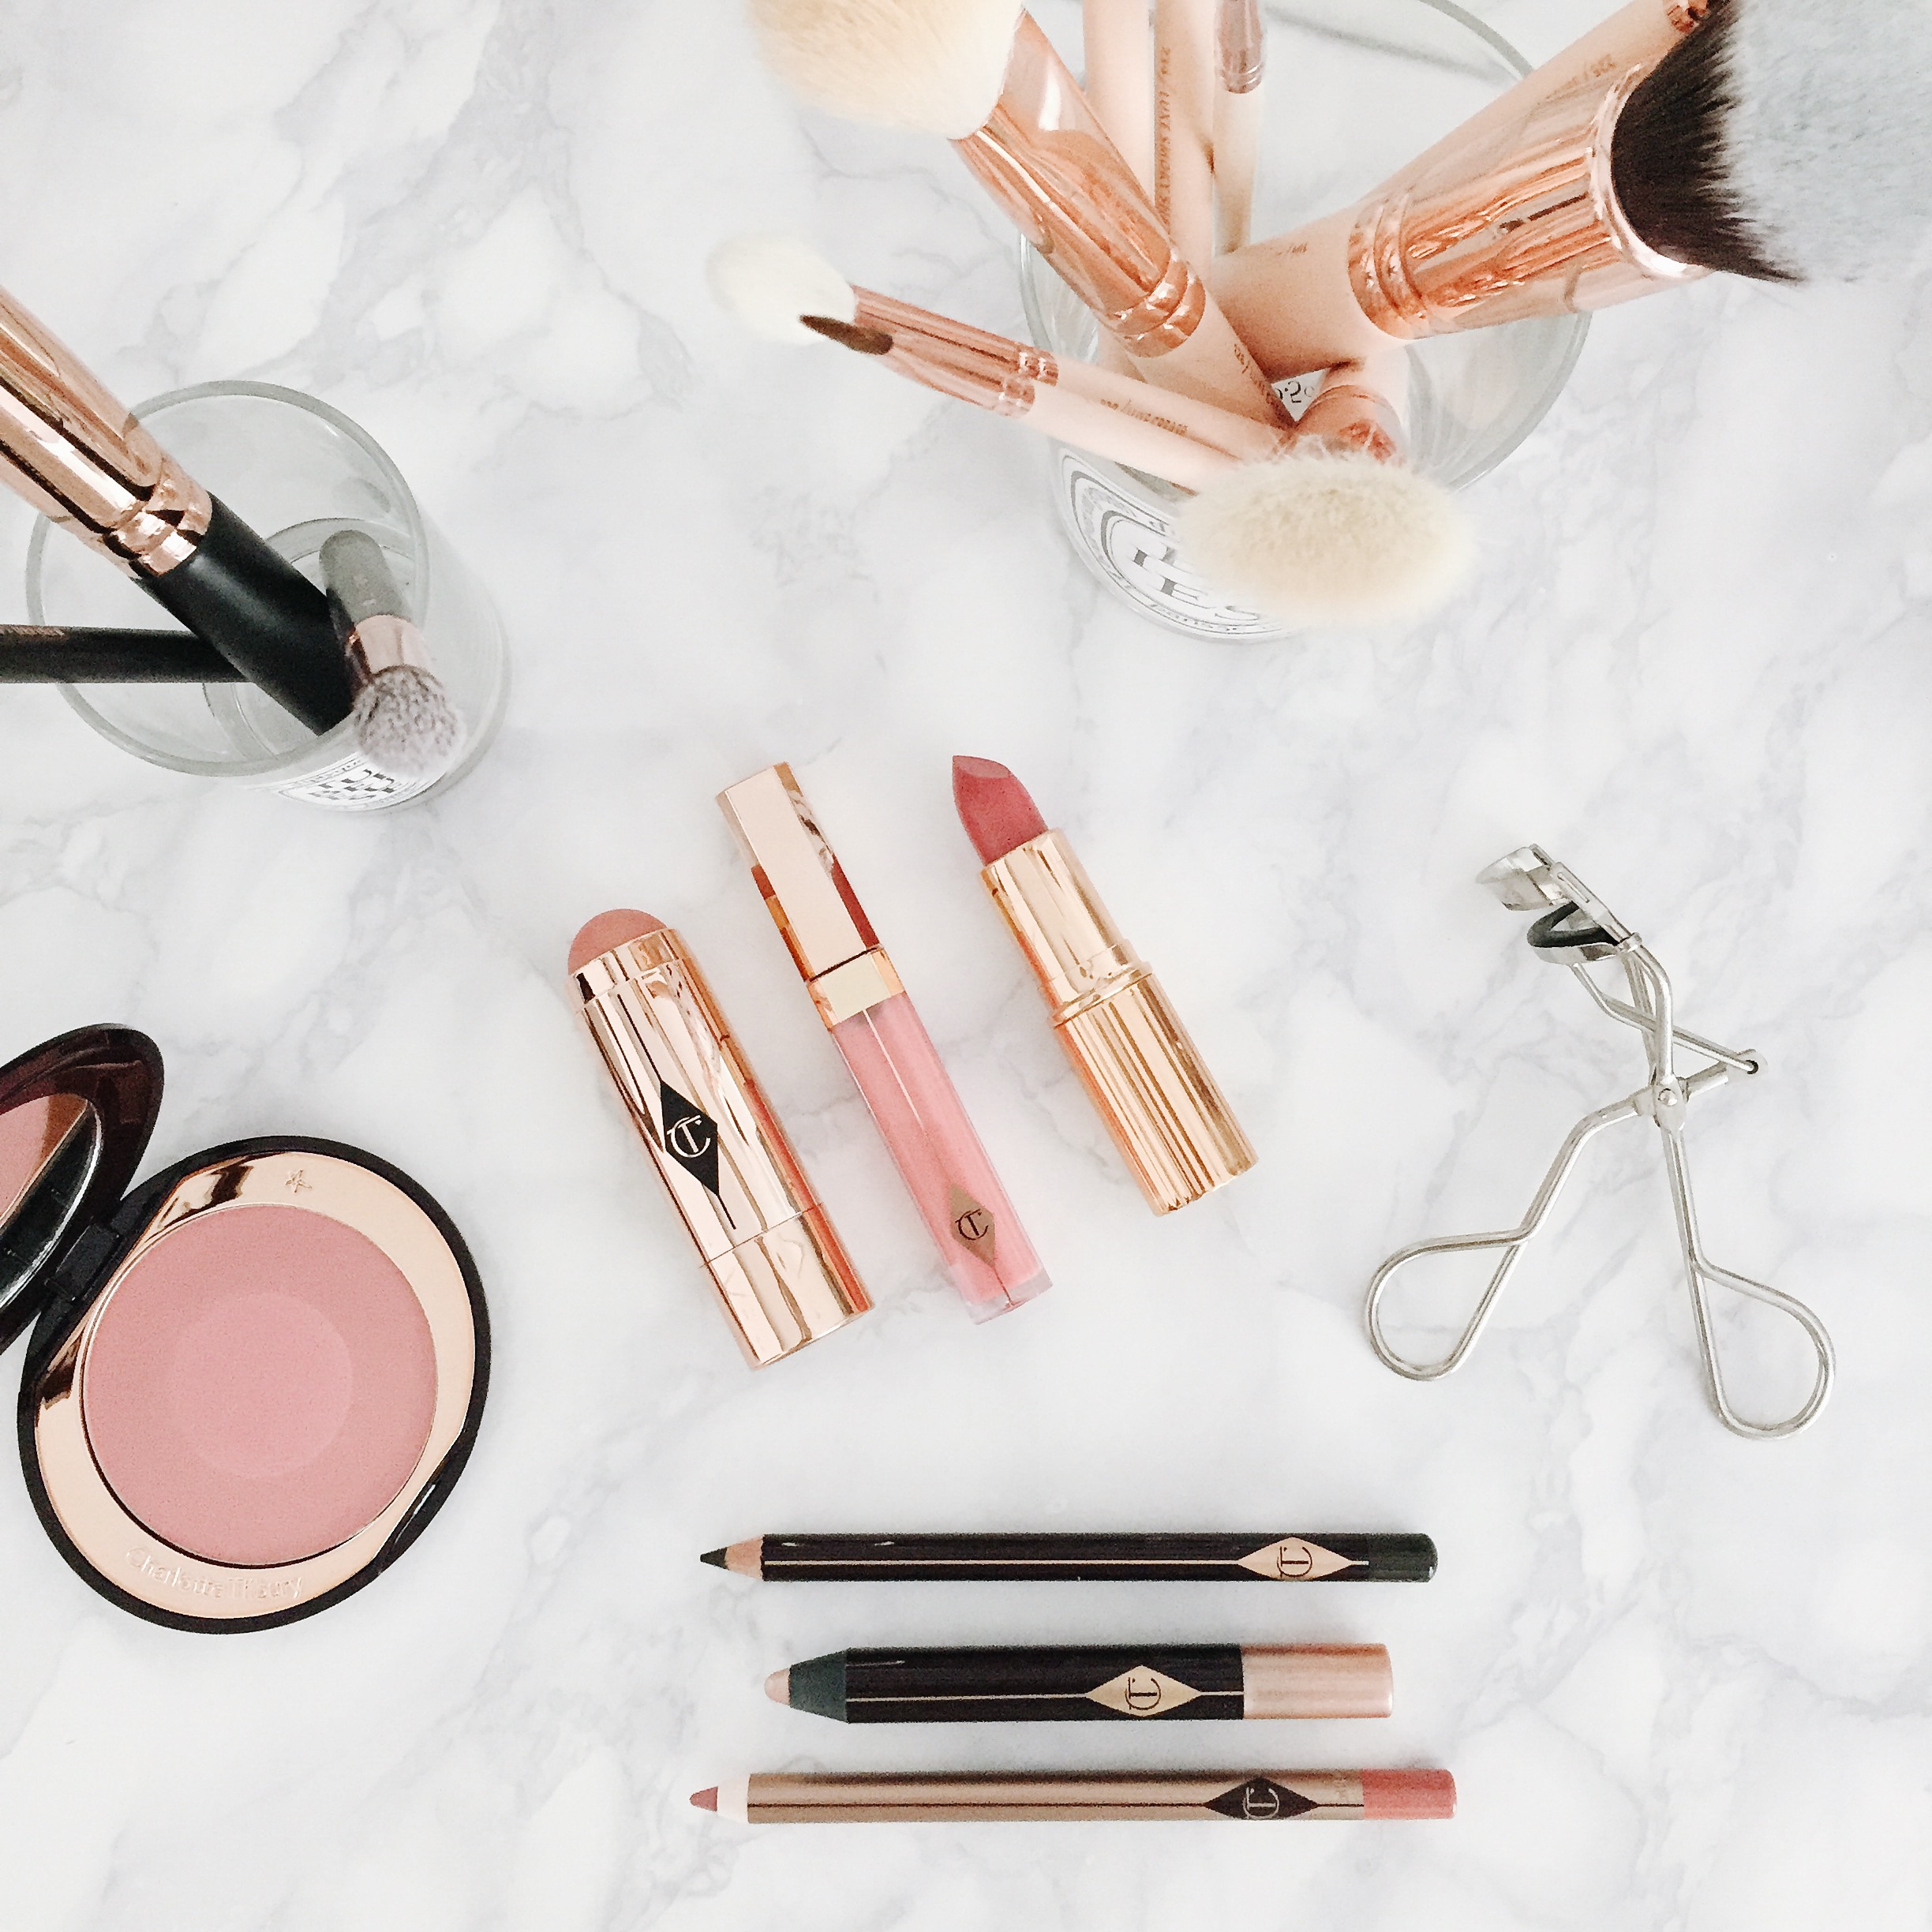
Similar to the tap to focus function you can also tap on different parts of the image to get the correct exposure. Now this isn't a perfect feature by any means because by clicking on a certain part of the image can easily over exposure your photograph and wash out all the detail. It takes a little bit of practice but by getting used to what the best types of shades and tones are to properly expose the image means that you're left with a much higher quality photograph.
BURST MODE
If you're photographing something with motion or movement in then the burst mode is a great tool. You just need to hold down the camera button for a second longer and it will take 10 images in a burst. It makes it much easier to find a sharp image out of ten then taking a lot manually. To make this process even easier, you can use the volume button which when shooting landscape is a lot more fuss free than constantly tapping the screen.
Do you have any tips for making the most out of your phone camera?
R x
Check out: The Snug Blog, This Is Simply Me and Madolyn Thinks, you can advertise with me here.