Photography
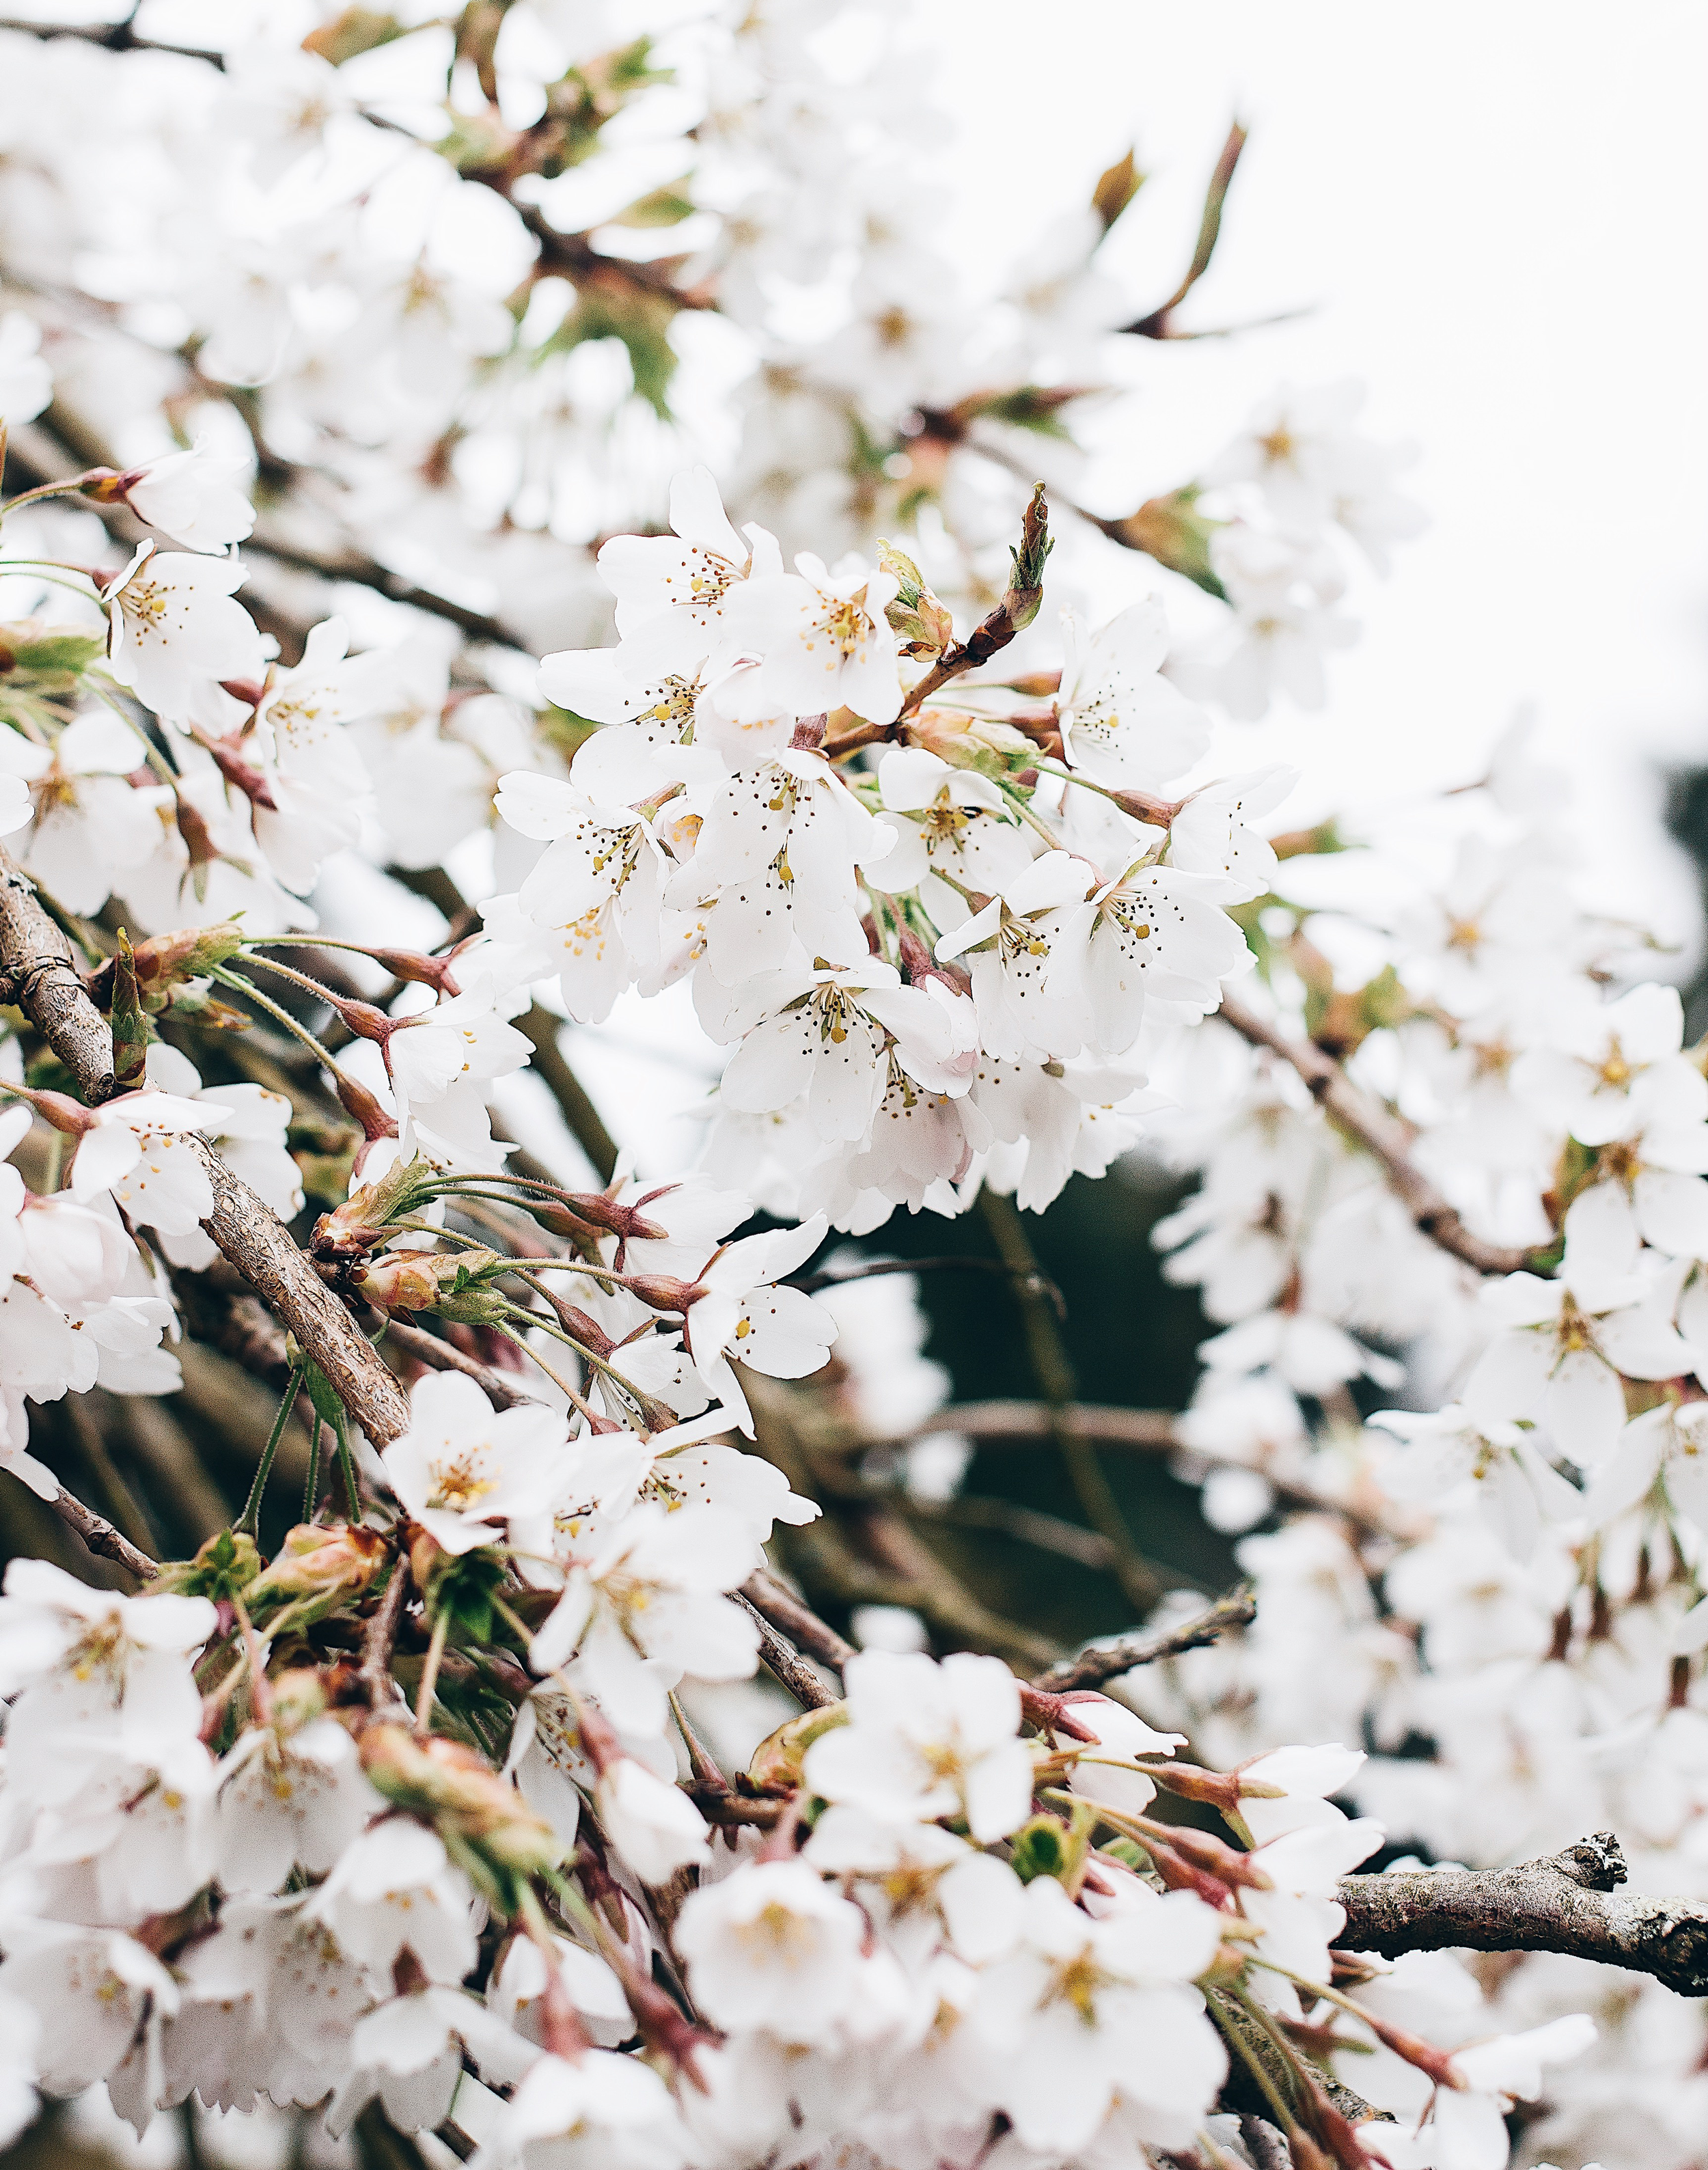
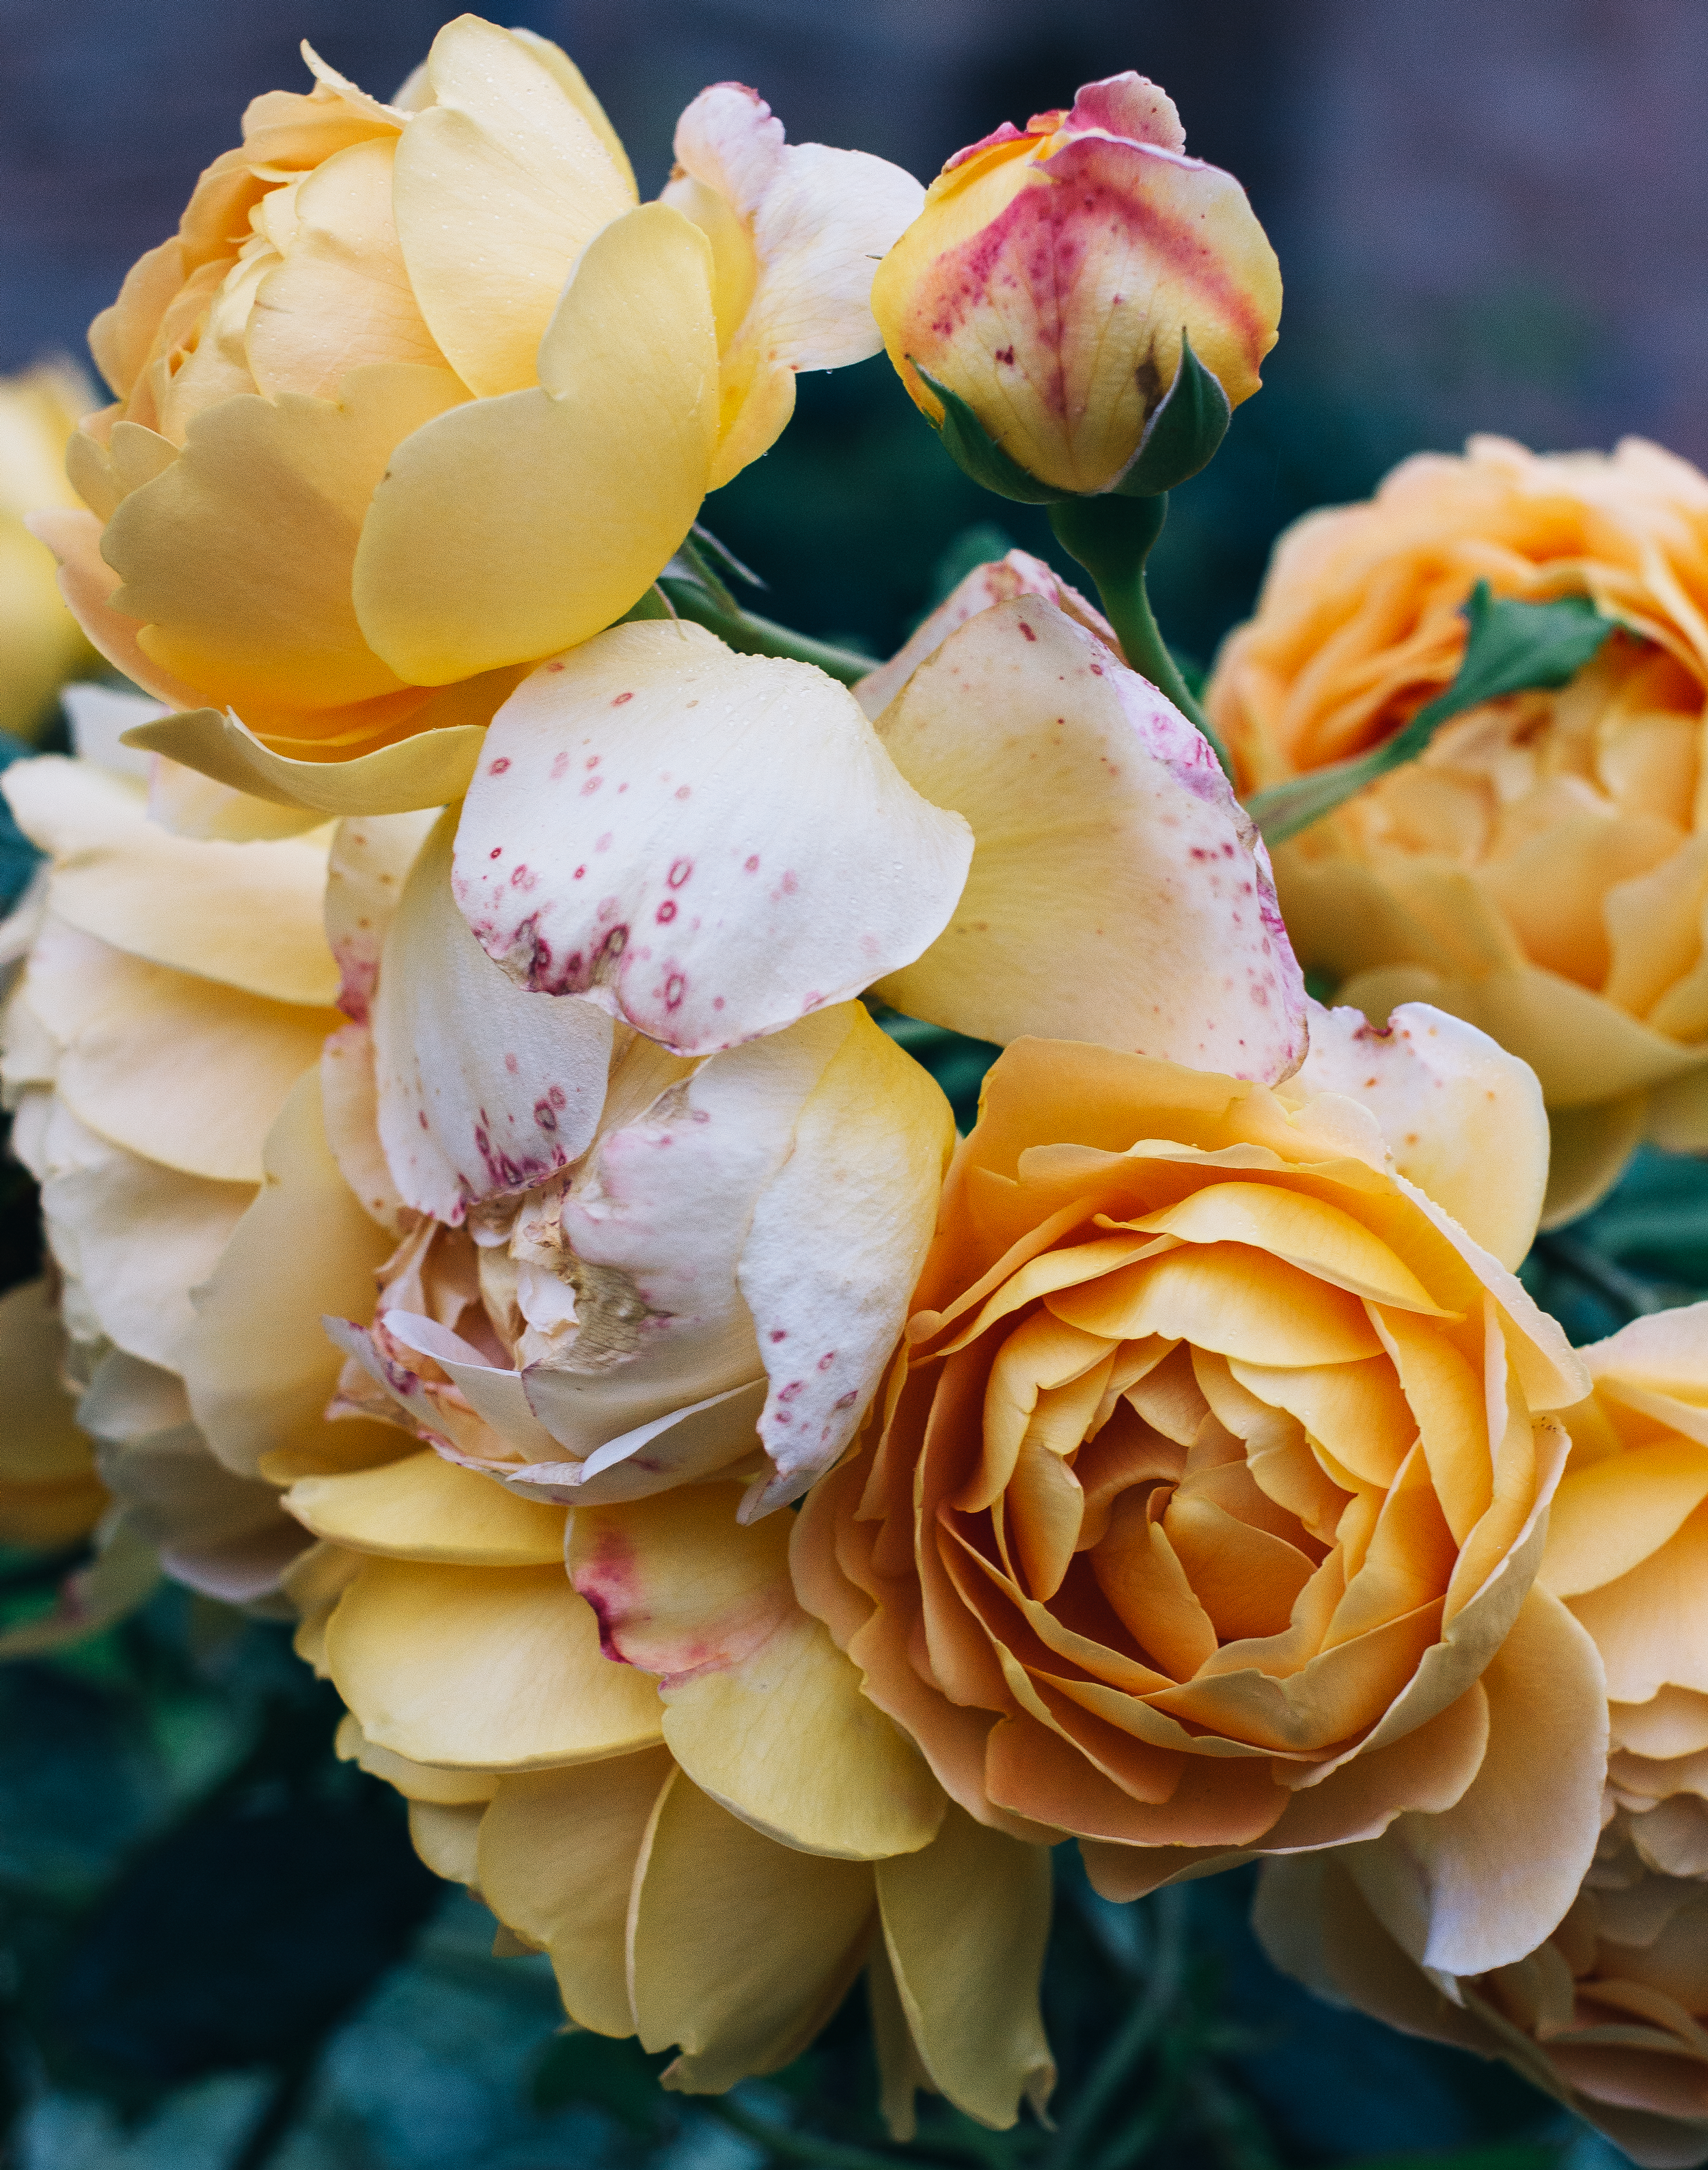
My love for photographing florals has lasted for over a decade now and it shows no sign of stopping any time soon. Every Spring I’m eager to bring my camera out more and as I’ve gathered quite the collection of florals over the years so I thought I’d share them to you today just incase your tech needed a little refresh in time for Spring to roll back around!
Even though I wrote a post surrounding this topic back in September my process looks quite different now. It's something that is constantly changing and evolving, much like my written work process which is something I wrote about last week. And the process and planning that goes into taking pictures is something that is so normal to me, it's the thing that comes easiest to me and without a doubt the thing that I find the most enjoyable when it comes to creating content. Of course, I love sitting down and putting my thoughts out onto a page but getting outside and shooting or setting up a carefully curated still life is something that makes me so incredibly happy and something I don't see myself falling out of love with anytime soon.
If you frequent the blogging world quite often, especially the likes of Twitter then you will more than likely have heard people voicing their frustration with Instagram. And roll back even just a couple of years ago it was undoubtedly my favourite platform, it was always such a positive place to be and a place for pretty photographs to be shared and appreciated. What could be better than that? Well, things have taken a turn with Instagram and I don't think I've ever felt so frustrated with the platform until now which lead me to this idea for this post. Because as silly as it might seem when Instagram is something you truly used to adore and you've seen it change so much and not for the better it can really get you down.
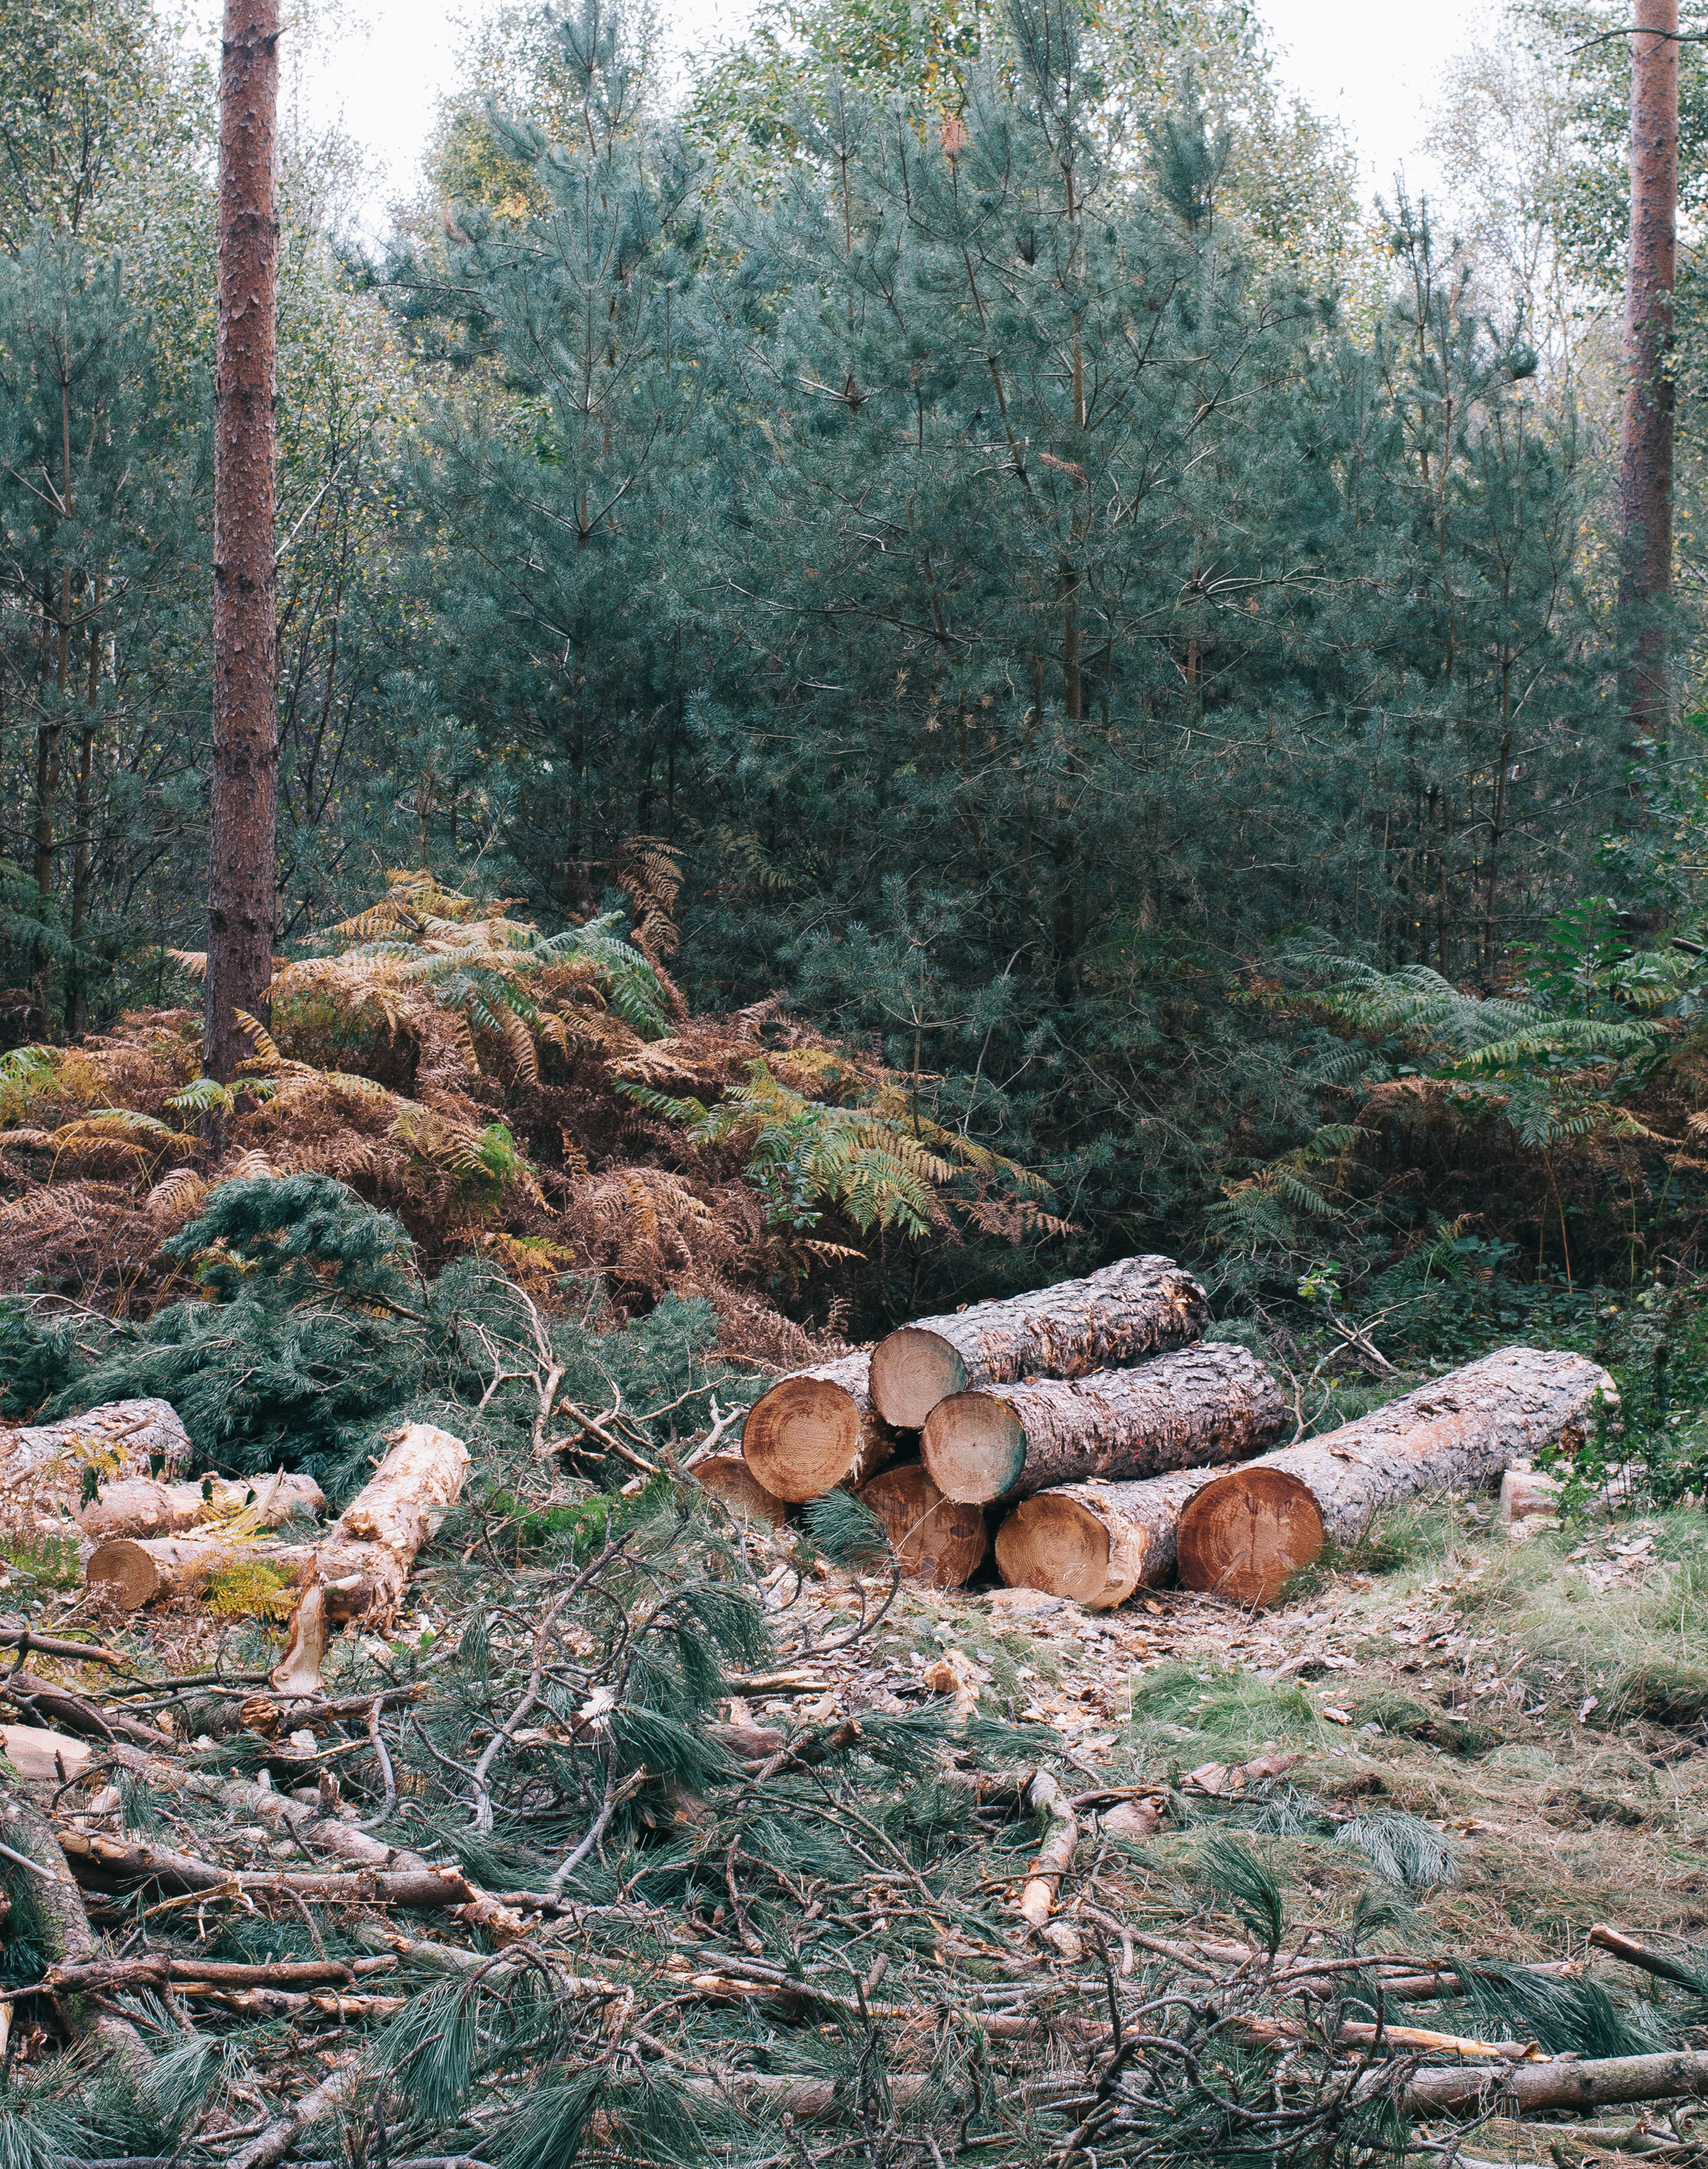
Whilst the blogging world might be gaga for Autumn it's a well-known fact that when those months roll around that we all struggle when it comes to taking pictures. It's taken me a really long time to figure out how still maintain high-quality light and airy imagery all throughout the colder seasons when it's dark 80% of the time and you only have a good couple of hours at best to work with daylight. But here are the best tips and tricks that I've picked up over the years to make photographing in A/W a breeze as dealing with grain the size of golf balls on your photographs is never fun.
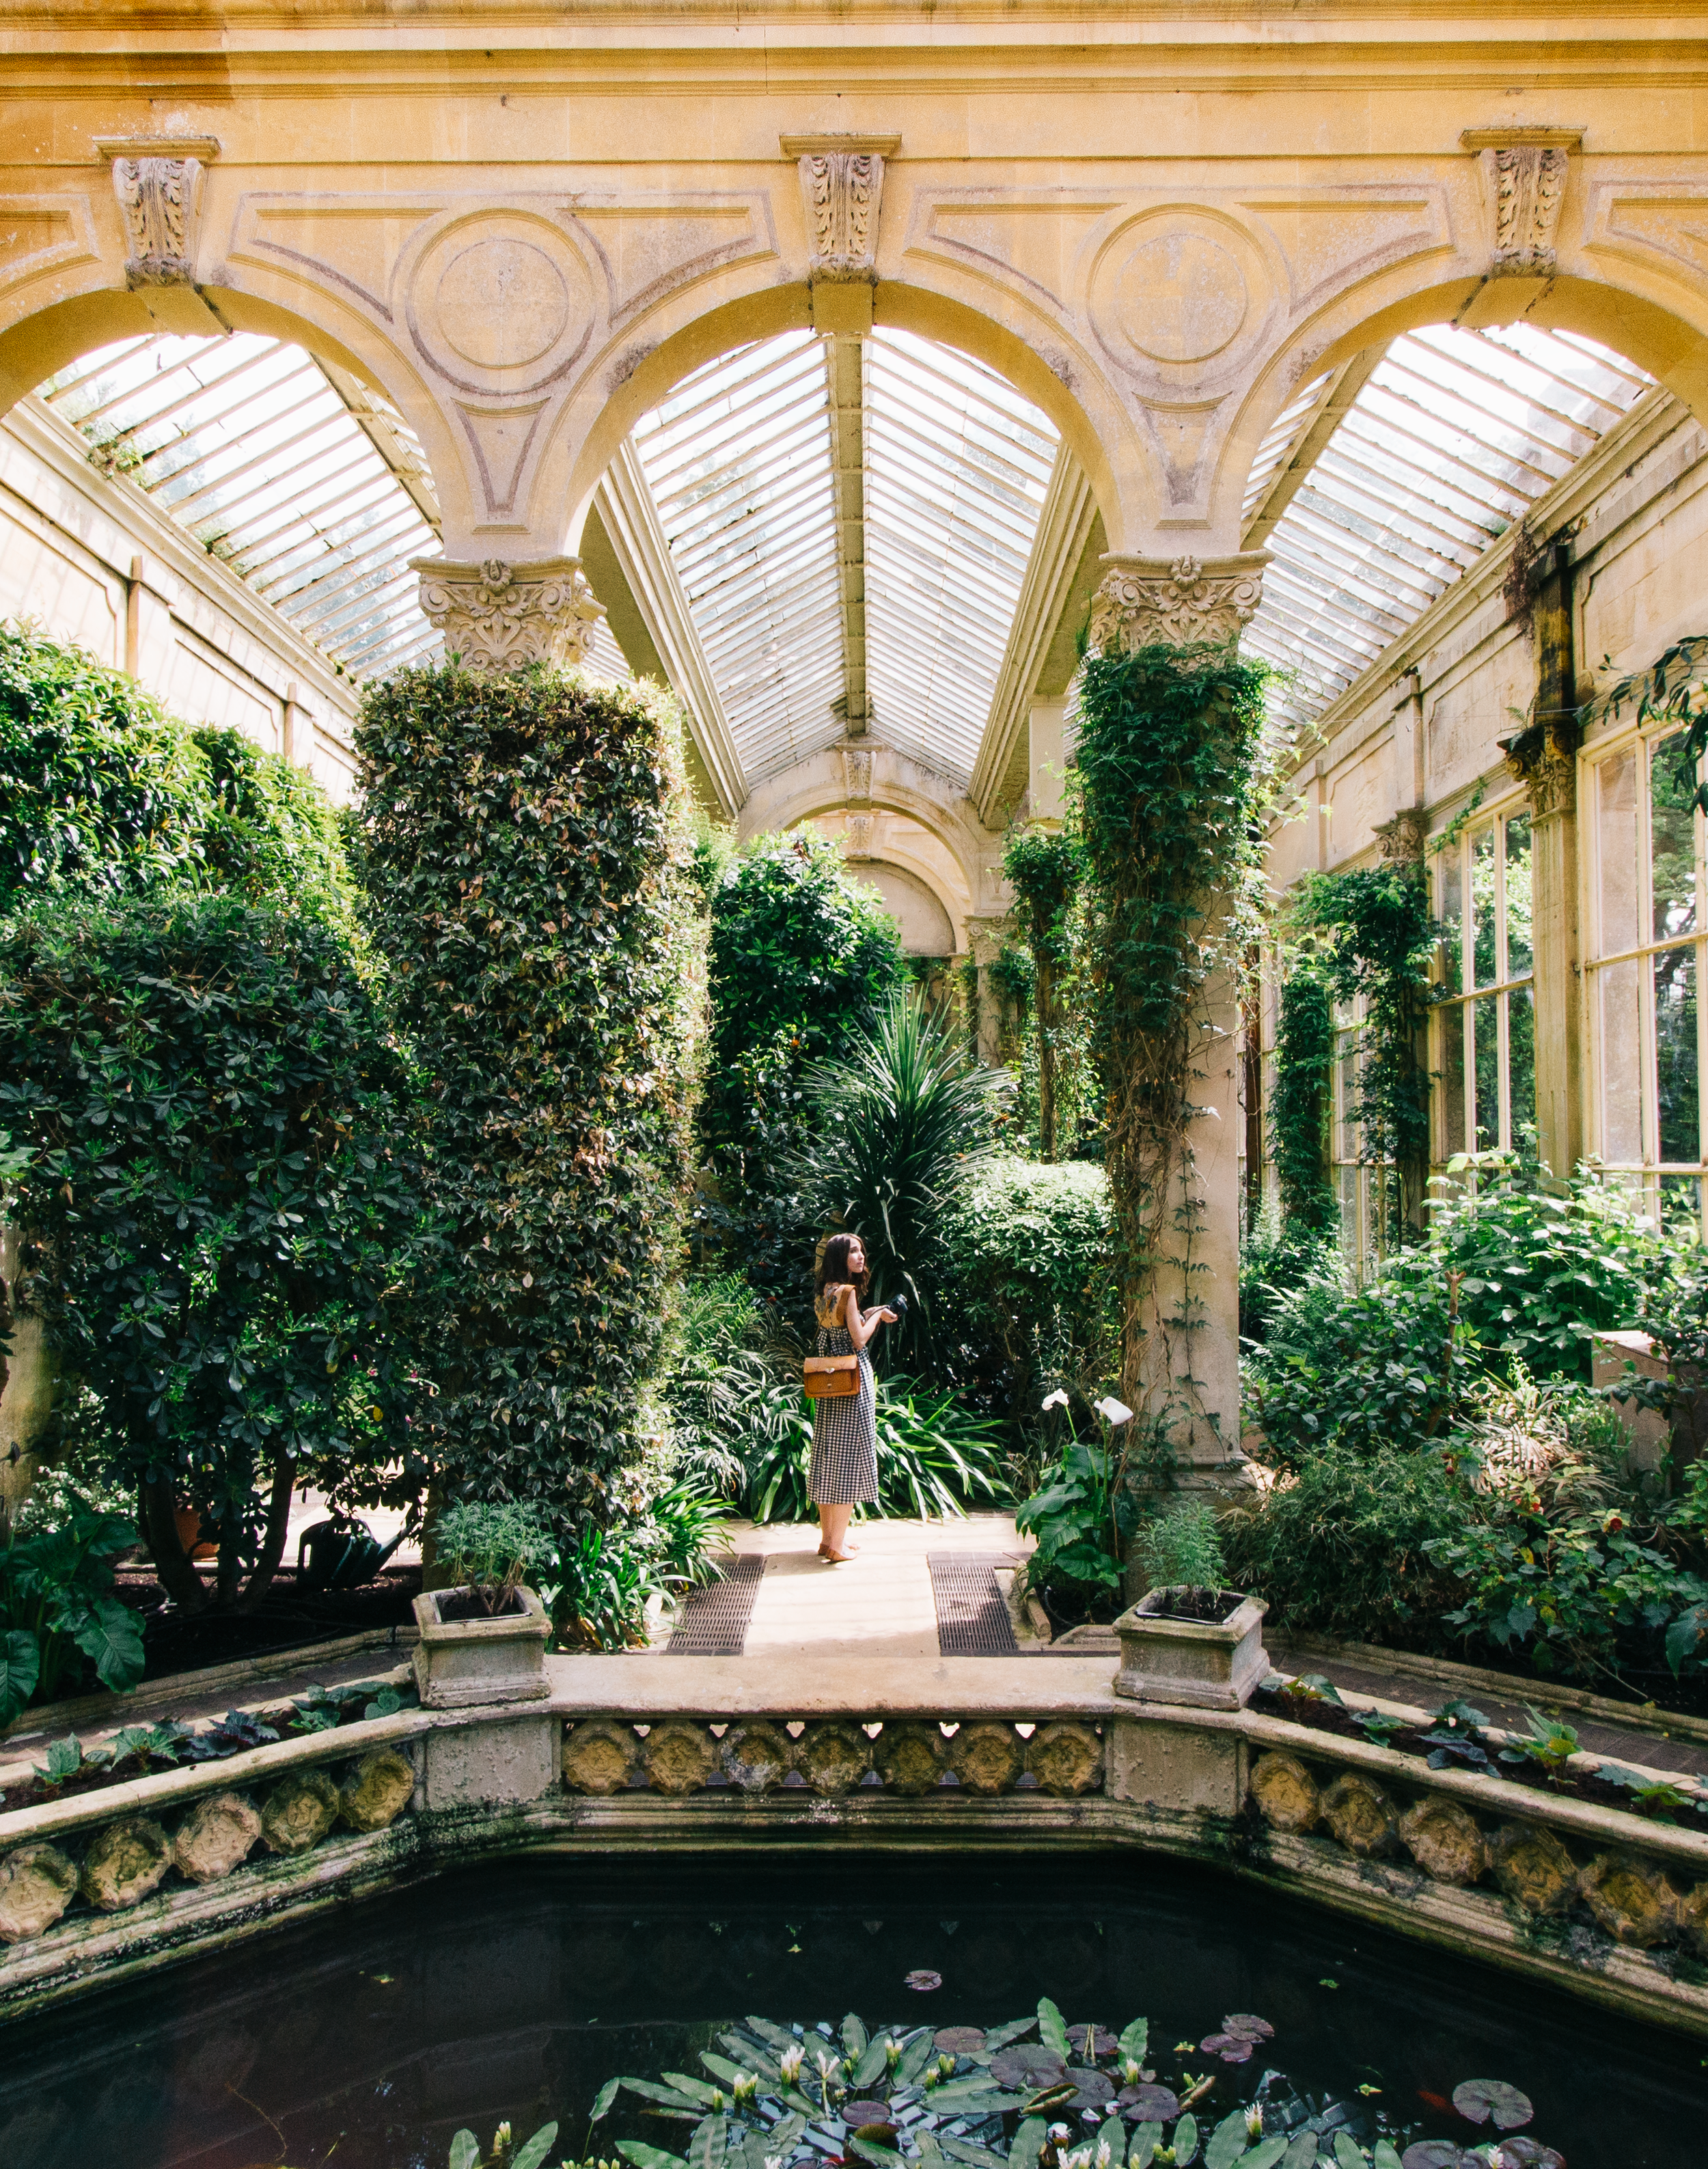
When you do something every single day without fail it becomes so normal and natural that you don't give it a second thought. And that's exactly what taking photographs for my blog and Instagram has become to me, it's a completely normal part of my life and I don't really think about it in much detail. Which made me think that I should write this post not only in the hopes that it might be of interest to some of you but also for myself too to break down my system a little more and see where I could make some [positive] changes.
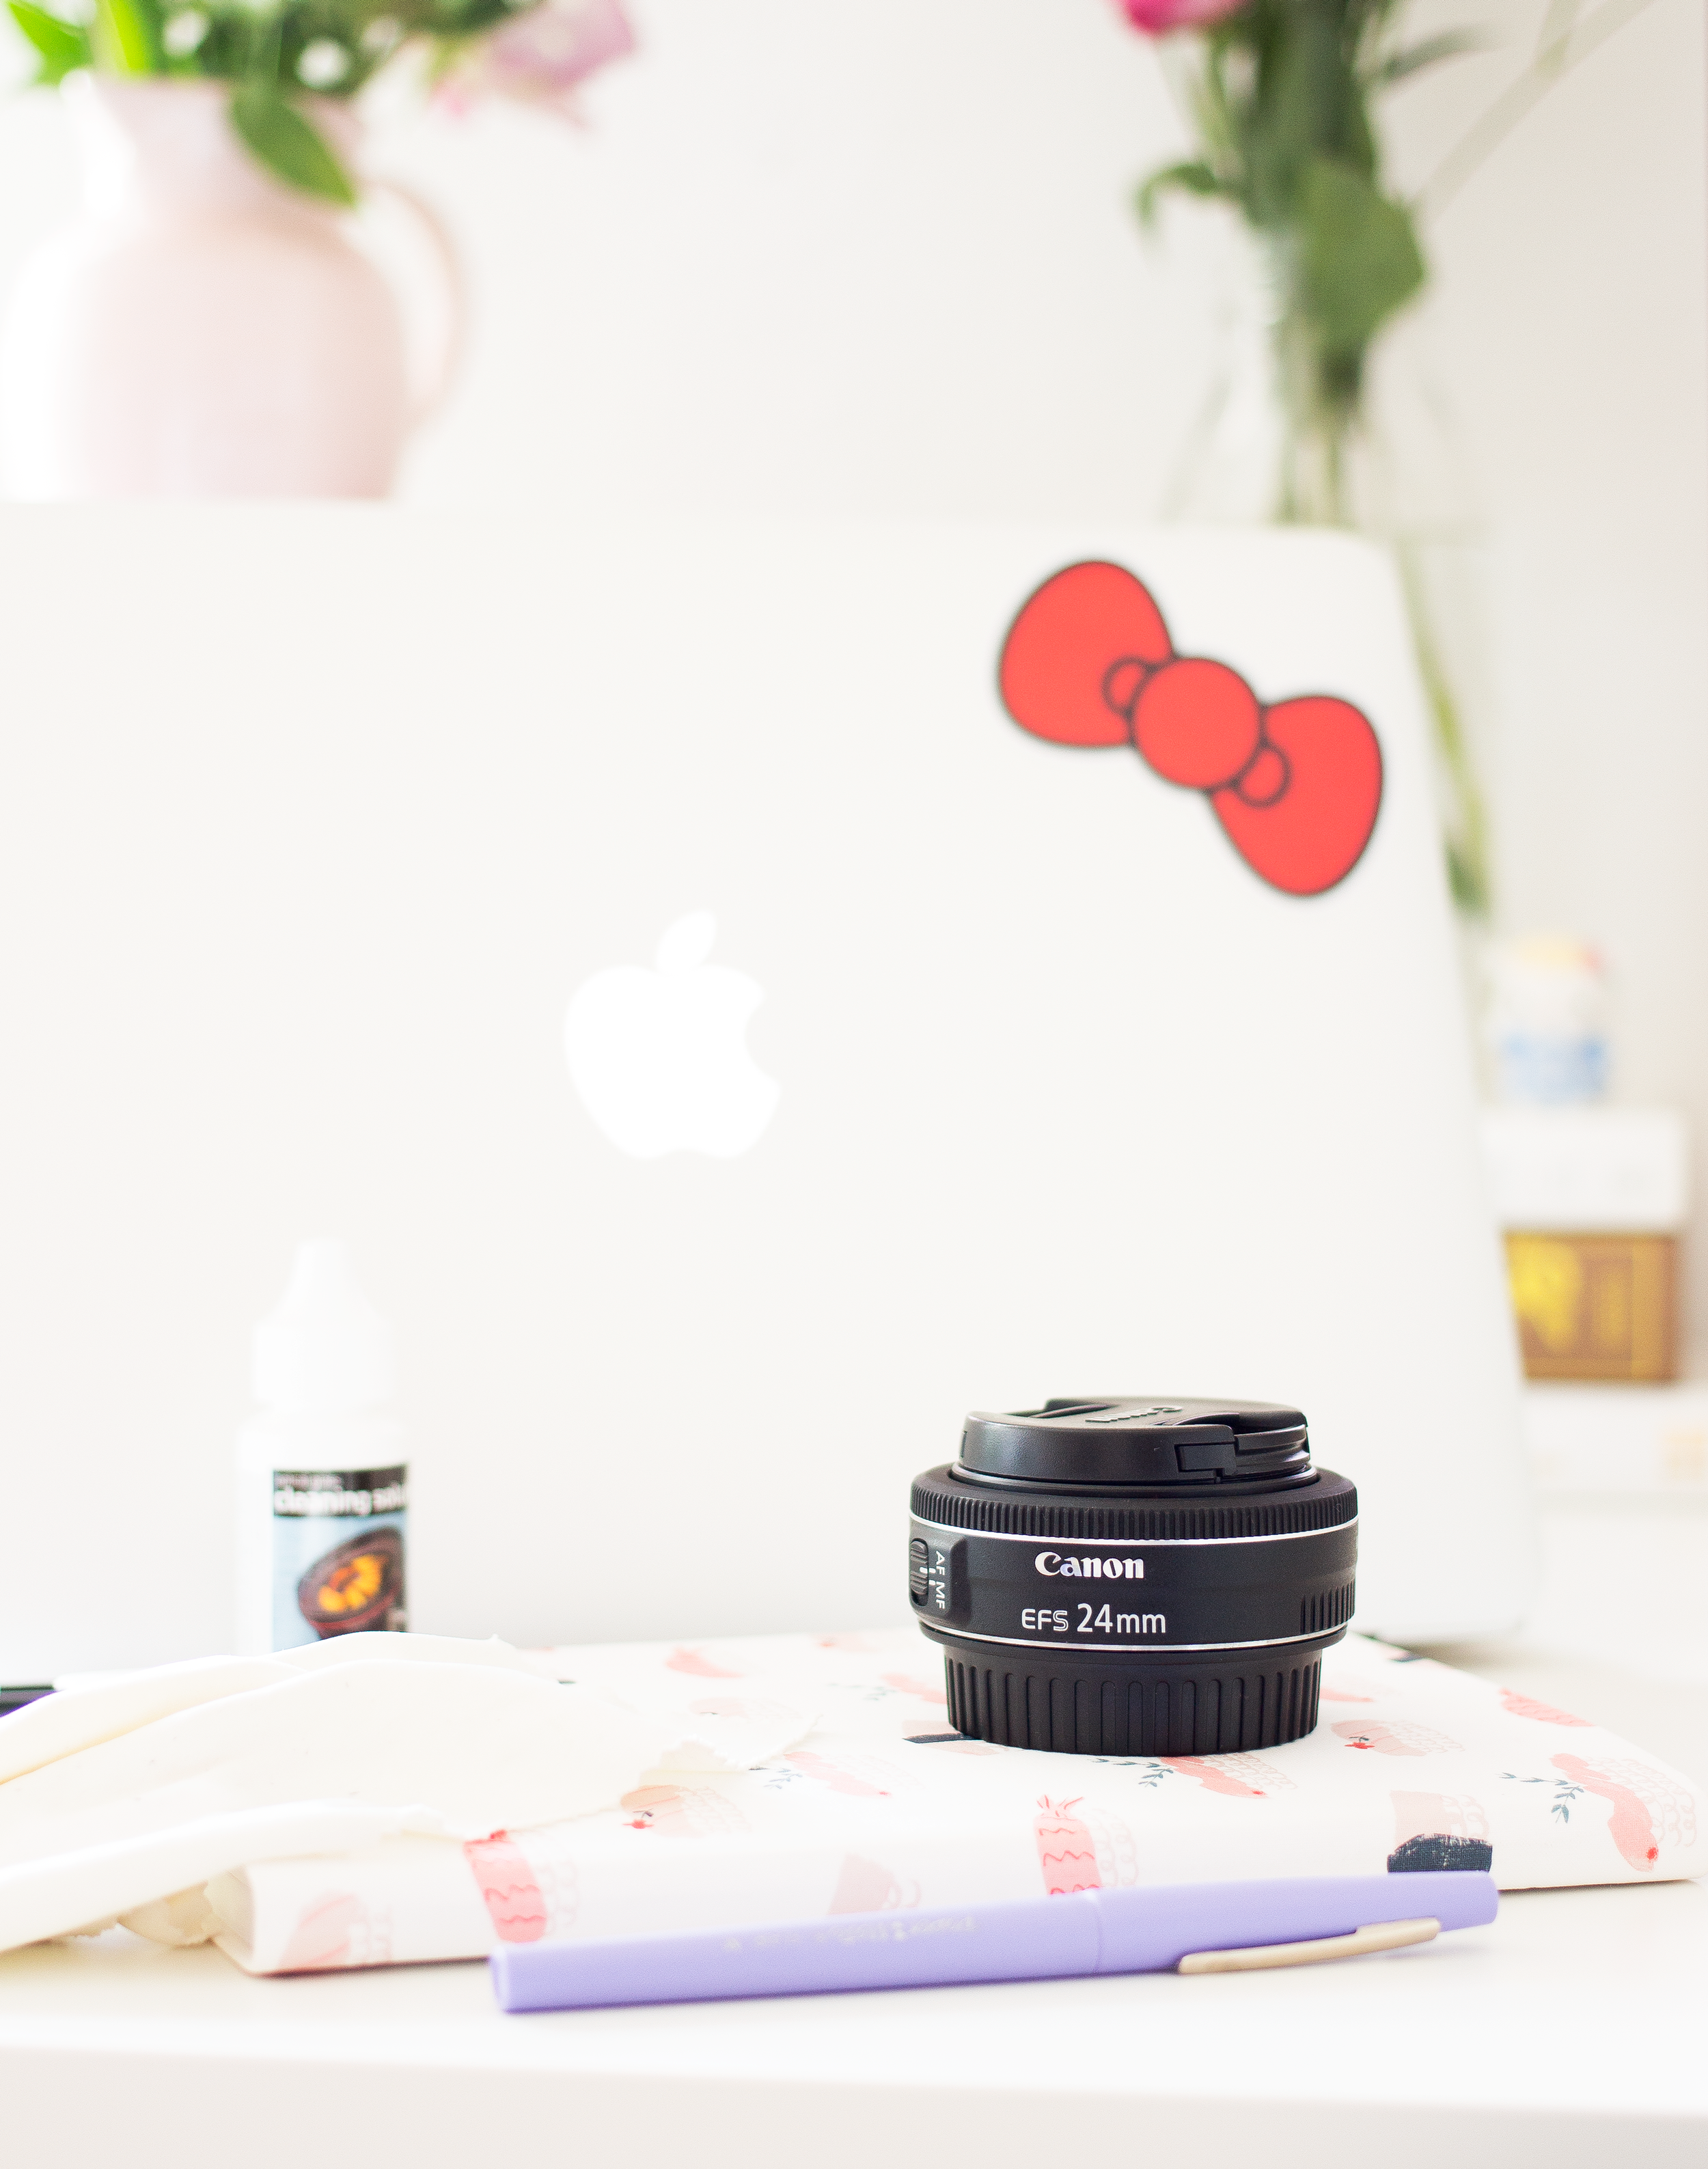
I have to be honest, the tech side of photography isn't something that I've ever been that interested in. What I love about photography is creating something, having a vision and putting it into action. Not talking about focal lengths and the depth of a certain lens. But there is quite a lot of tech that I use on a daily basis to create content for this blog and here are all the details on those pieces;
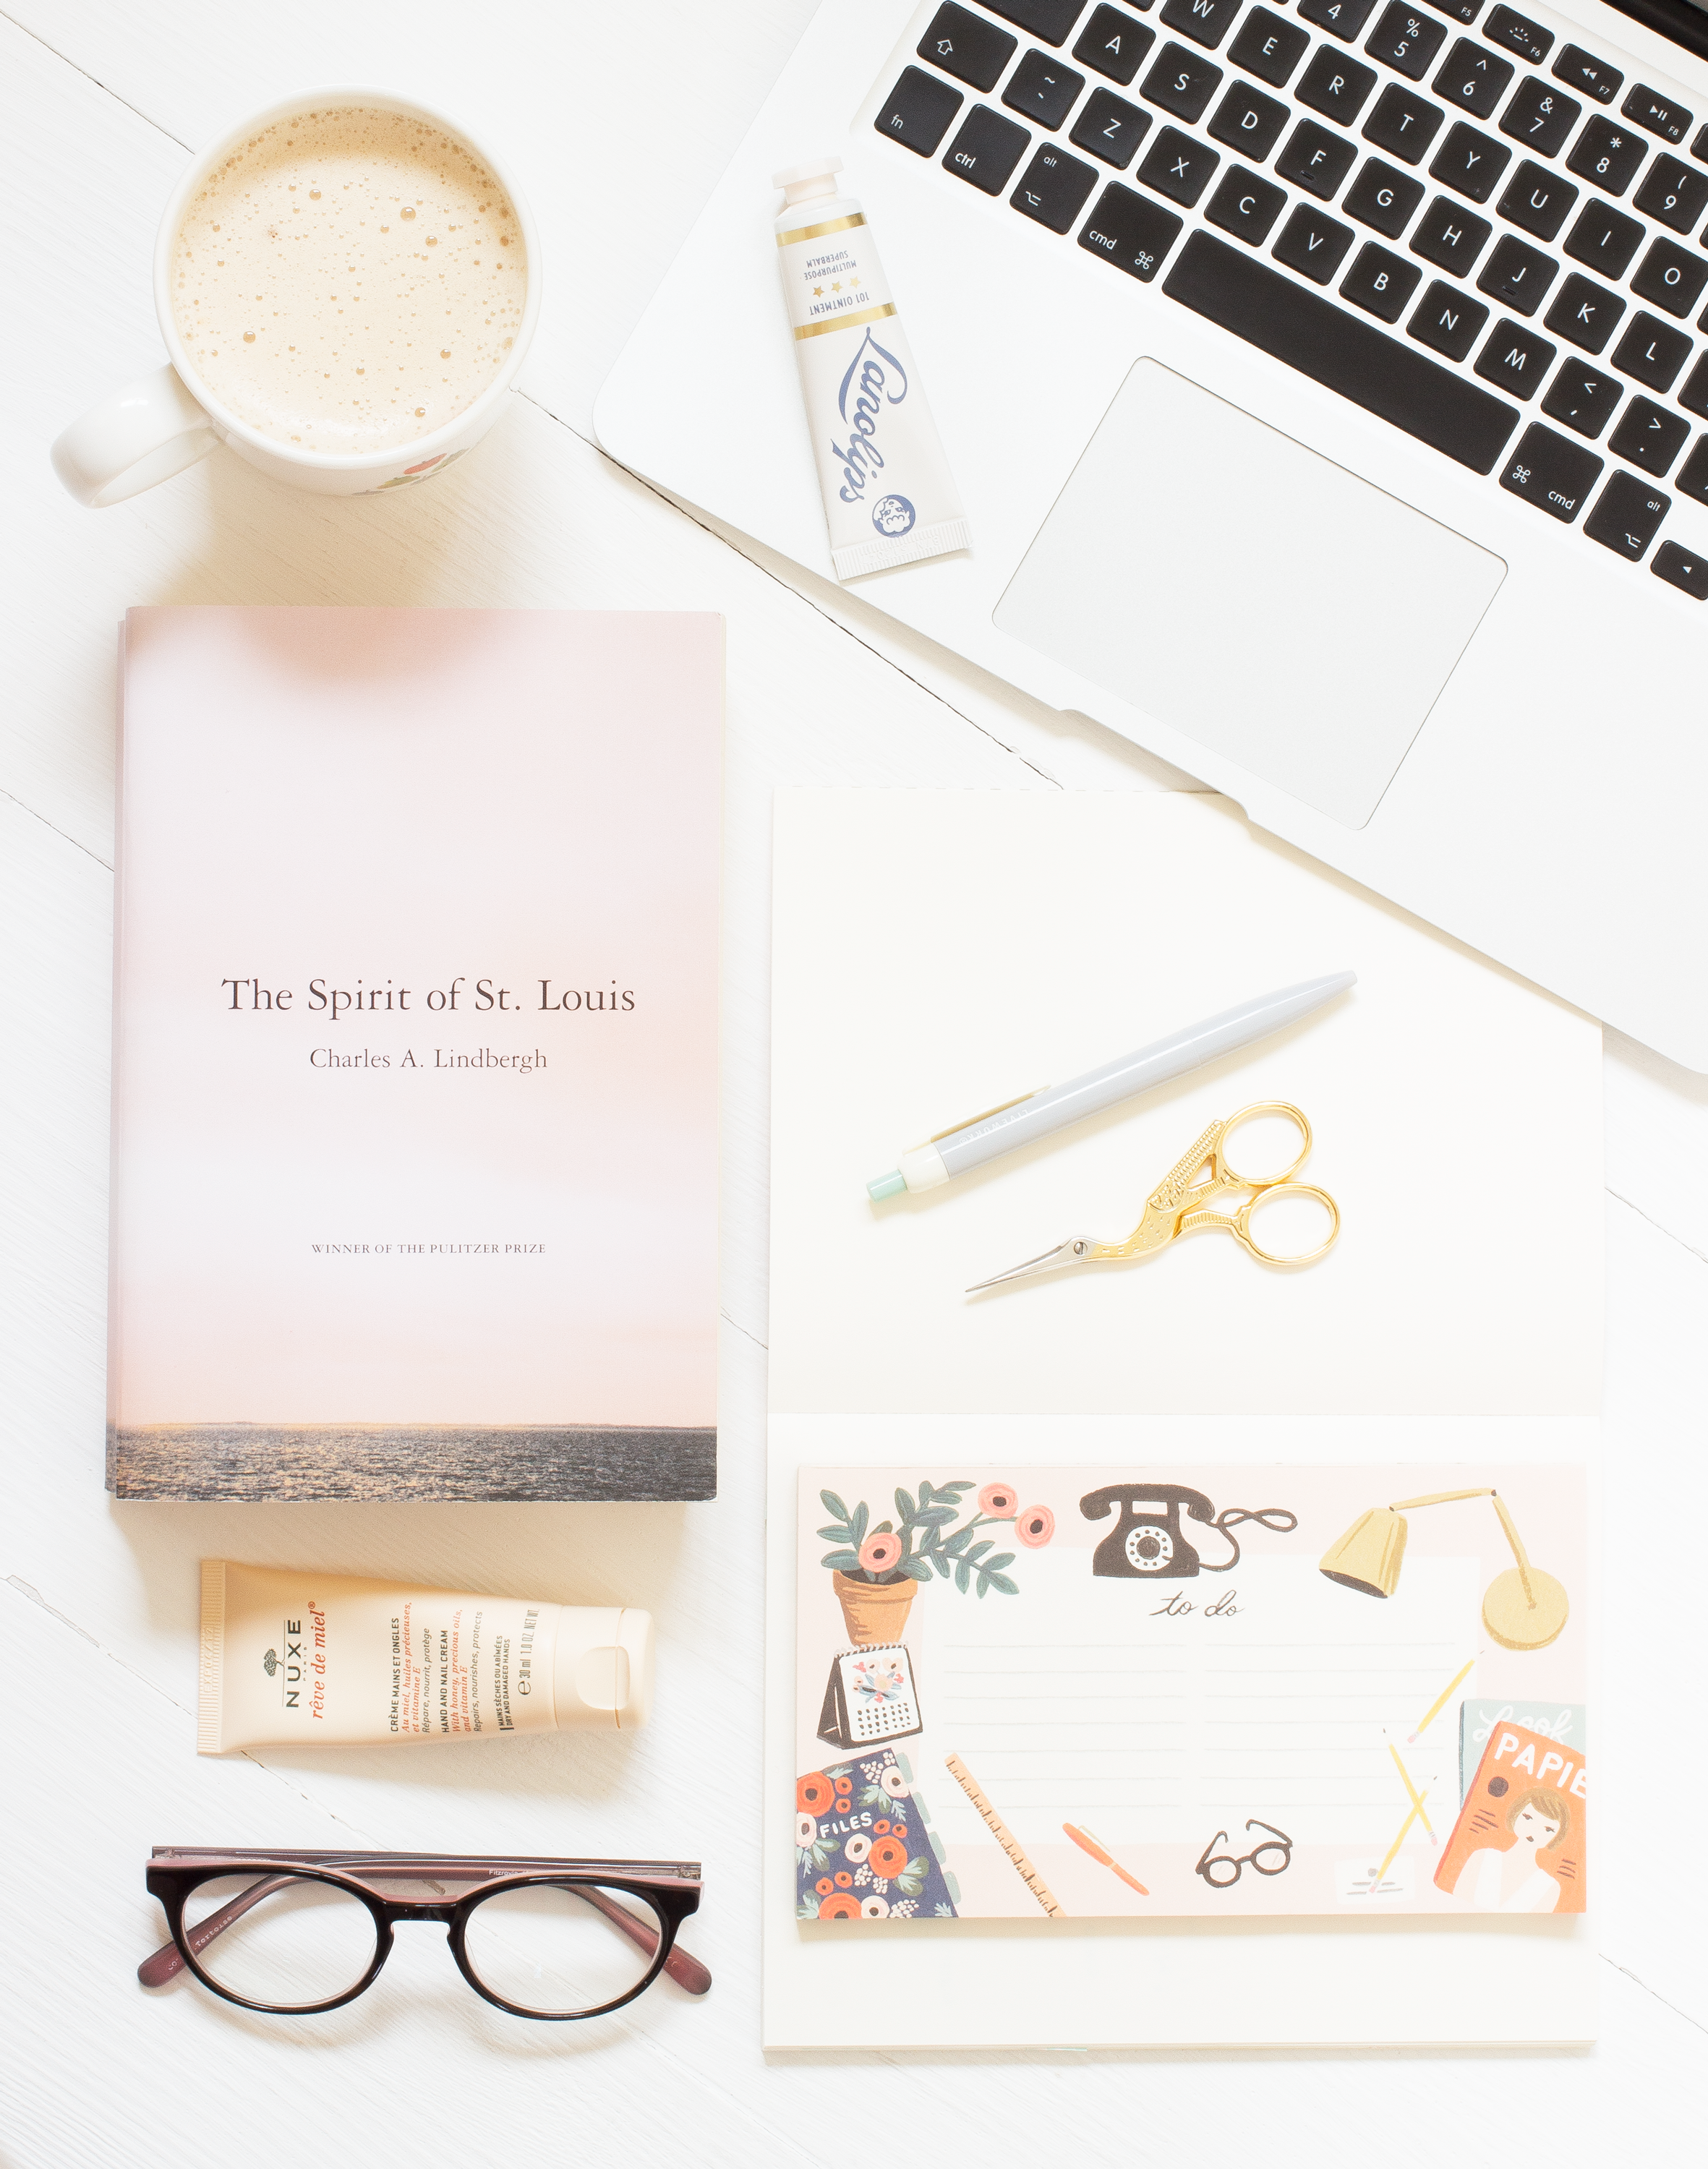
If there's one photography topic I could talk about for hours on end it's the art of the flat lay. And the reason why we all probably love them so much is because the essence of them is so simple but actually when it comes to taking a really good flat lay it's a pretty complex process. It's a topic that I get asked a lot about so I thought I'd put together a little cheat sheet that might make taking an awesome flat lay a little easier.
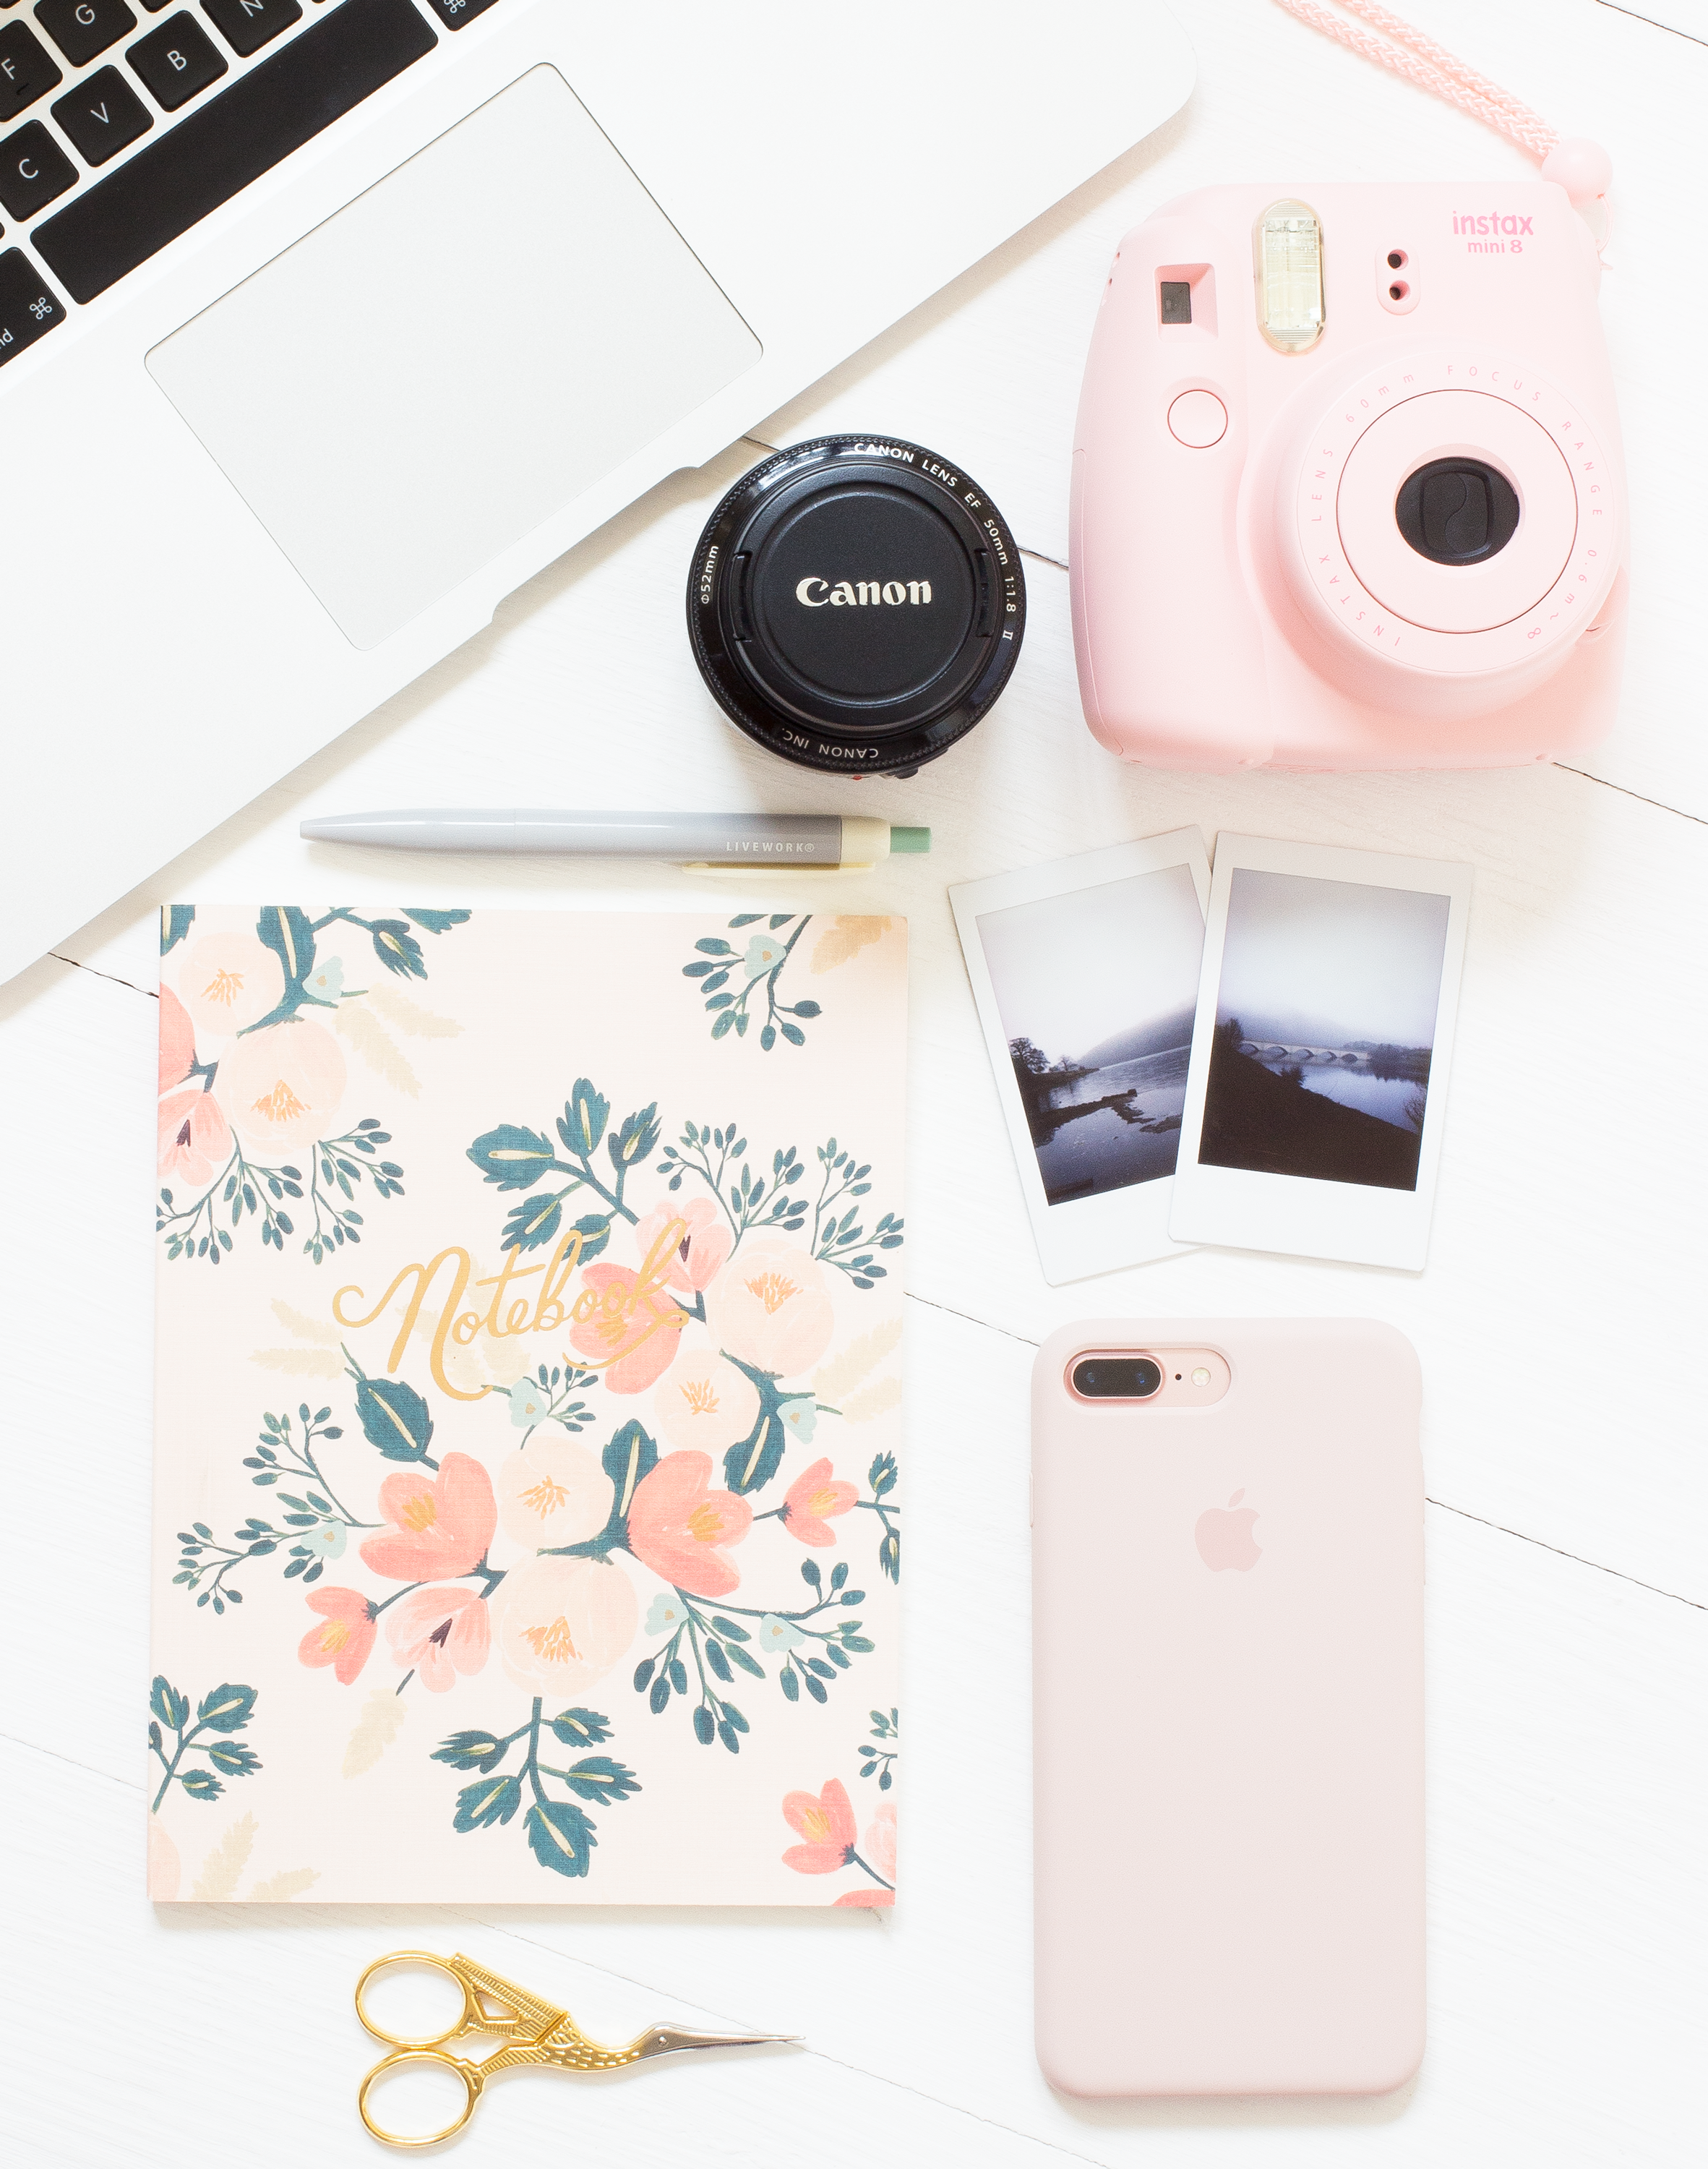
This is a post that has been in the works for a long time. But sometimes talking about the techy side of photography can be incredibly boring and I never want to sound like a dull photography teacher or like a know it all. However, the techy side of photography is important and even though I believe it's always the person who makes the picture special there are some key elements that can help make the image just that bit better. And learning to use your SLR on the manual setting is a big part of the technical side and I know that looking at the back of a camera when you know nothing about them can be so daunting but hopefully, this post breaks it down a little more.

Over the years of studying photography and practising it on a daily basis, I've learnt that it's not the big and expensive things that make the biggest difference to the outcome of your images. It's the very basic things that we take for granted and can easily ignore but they're worth taking the time to learn. And most importantly over equipment, knowledge and editing software, it's not those things that take the image it's you the person and above all else, that's what makes the best images.
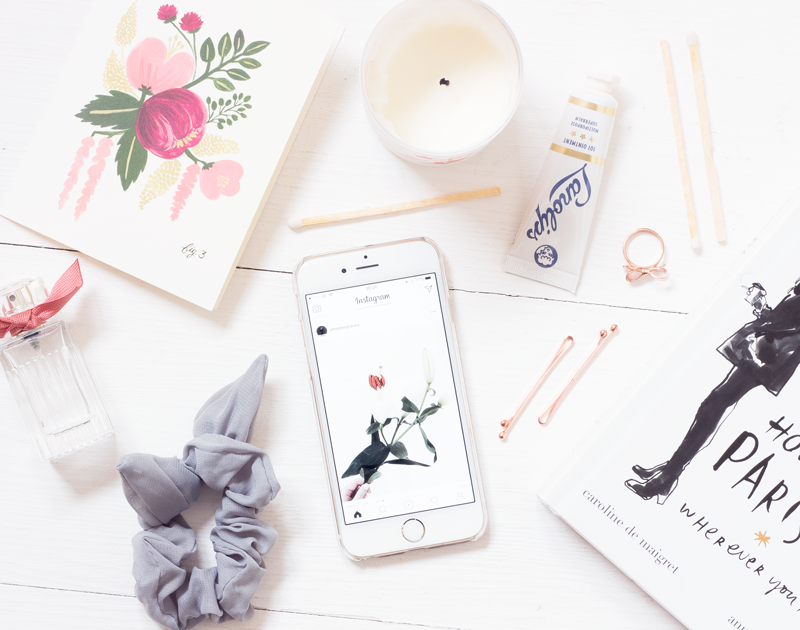
If there's one place I know I can rely on to inspire me when it comes to photography it's Instagram. And even though the platform has changed a lot over the years and it's definitely not quite as good as it was when it first started. It's still something that I love to share my photographs on and gather inspiration from so many other incredible photographers. So if you're looking for some inspiration to up your photography game here are some of my all-time favourite creators on Instagram.
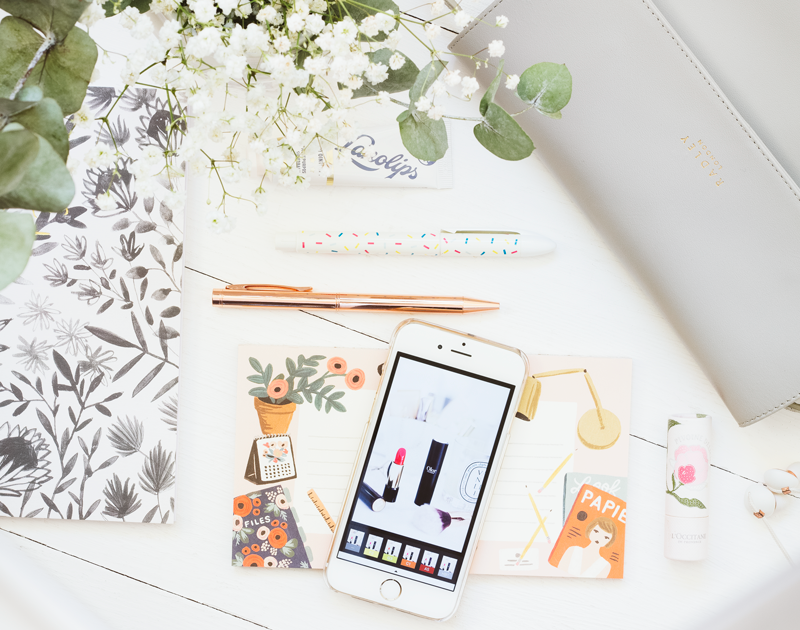
Whilst Photoshop & Lightroom are incredible editing programmes they're not available for everyone and they're not always my first choice when I'm in a rush. So finding awesome editing apps or software that's more widely available is something that I'm always on the hunt for. Today I'm going to be sharing how I use VSCO cam to create images for Instagram and my blog and how to transfer your images across from laptop to phone without the hassle.

Whilst some might think it's beauty blogger blasphemy not to photograph a product before using it, it's not a practice that I partake in. Because I like to give my products a good test before featuring them that means I've had to find a way of photographing them in an aesthetically pleasing way. Whilst still getting a lot of use out of them because we all know that a smeared lipstick top might say well loved. It doesn't always scream photograph me. However, I'd rather see things looking a little less pristine because when there are powder remnants on the side of a palette I know that it's actually been used as I can't help but be sceptical when I see people holding up products that haven't been touched and they're telling me how amazing they are. Anyway here are my best tips for photographing well-loved beauty products in a beautiful way.
Creating a strong cohesive image presence online is something that's a lot easier said than done. For years, I've worked hard to find my style and it is something that's a constant work in progress and changes on a daily basis. However, I've found along the way there are a few things you can do to help make the process easier and lots of fun along the way and I'm excited to share them with you today as it's a question I see cropping up a lot online.
Way back when I first started taking pictures and studying photography nearly 10 years ago. I remember getting set a brief at college that I thought was possibly the most boring project to ever be given. But now I'm really grateful for that incredibly dull brief because it taught me so much about photography as a whole and pushed me out of my comfort zone. When you first start taking pictures it can be really hard to know where to start. And setting yourself your own little briefs of photographing certain subjects can help you not only hone in on your style but it can also teach you so much about the practice. So here are a few things that I think are really helpful for any beginner to practice photographing.
A couple of weeks ago I announced that I was going to be launching my own stock photography bundle store. And today is the day that the store finally launches and I'm so incredibly excited to share with you what I've been working on and I hope you'll love the store as much as I do.
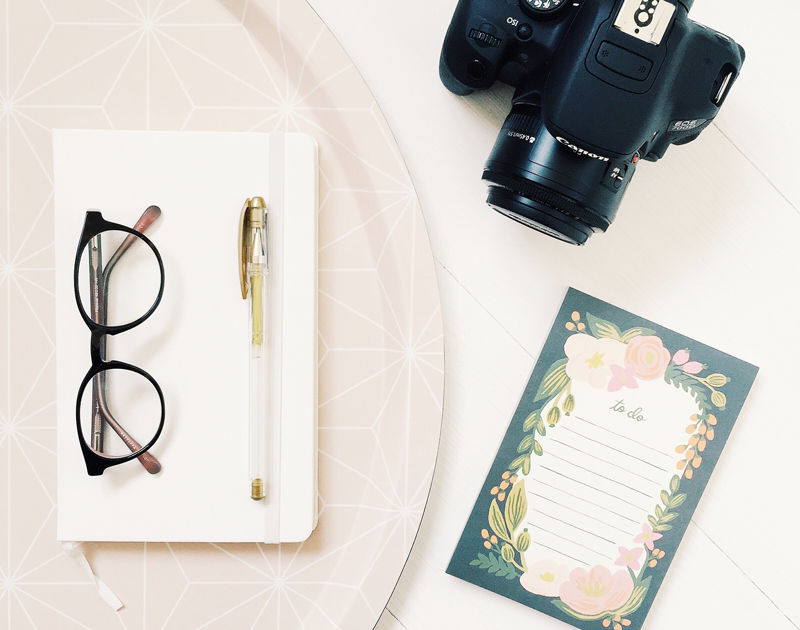
The technical aspects of photography can be an absolute minefield to battle through. Even though I've studied photography at degree level it's really easy to forget those things but I think they're one of the foundations for creating awesome images and getting the most out of your camera. I've narrowed down what I think are the most crucial ones for any budding photographer out there to learn for your perusal today.
Something that is spoken a lot about when it comes to taking pictures for your blog is that everyone wants to find their style and aesthetic. And I know it's something that I was so desperate to find when I first starting taking pictures and really taking photography seriously. However as much as you might crave it, it's not always as easy as it just arriving one day and there are some key things to take into consideration when on the quest for your style. I've rounded up my best advice to share with you today on how to find your image aesthetic.
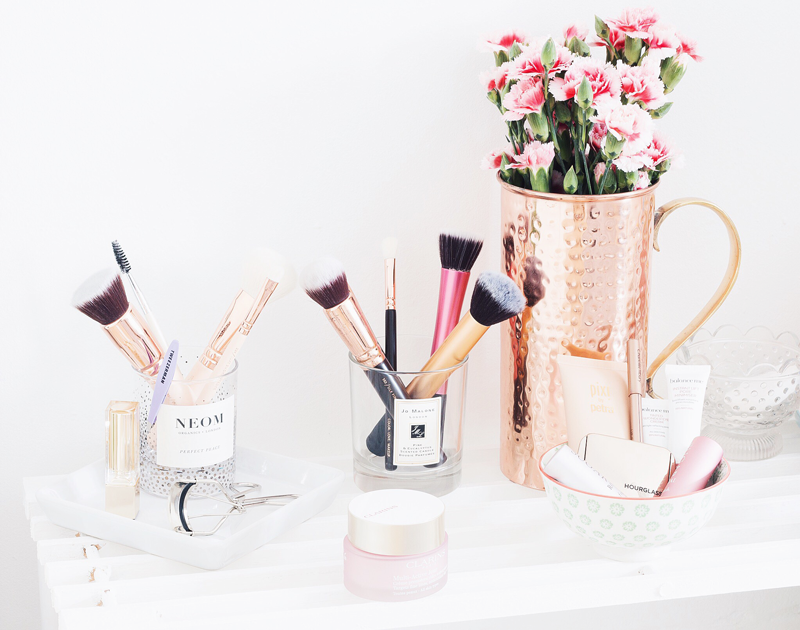
Photographing beauty products in a way that enhances them and makes them look as beautiful as they are is a fine art. Especially when you've been using the products for a while. Whilst a smushed lipstick top might say well used it's not always the prettiest to try and photograph. Here are some of my fail safe things to consider when photographing beauty products.
Something that I've been working on for a really long time is creating my own stock library. And as a blogger, I think it's something that can work incredibly well for your creative process. Unless you can dedicate 100% of your time to your blog. Having images that can be used multiple times and be versatile for posts. Is something that can save so much time in the long run. It can also help you to keep your branding and aesthetic cohesive. Whilst there are stock libraries out there that you can use. Having your own means you can do whatever you want with the images. As those libraries come with restrictions. Here are a few tips to create your own stock library and a few things to think about.
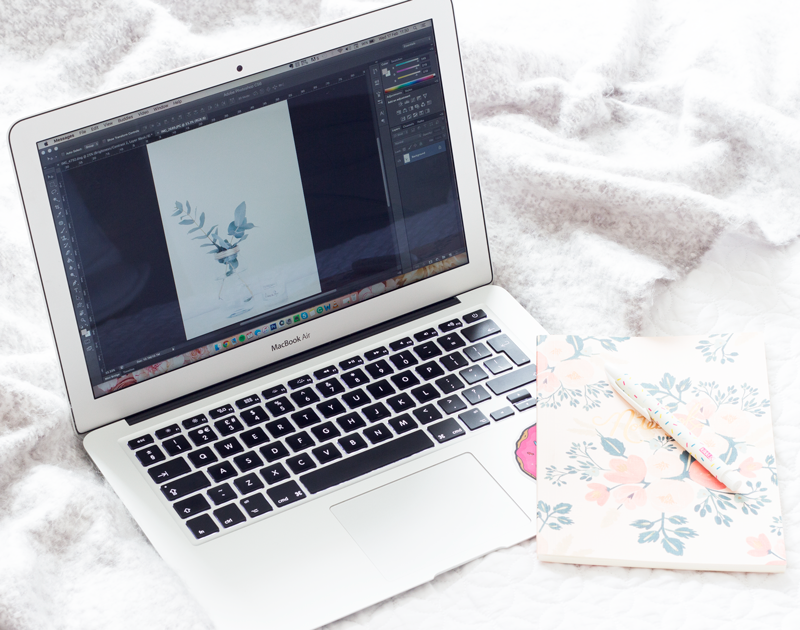
After putting together my first photoshop post a few weeks ago [read here], I decided to put a second round up together. In my first post I covered the basics but today I wanted to talk about a few more in-depth topics. It goes without saying that my editing techniques aren't perfect or the 'right' way to do things but here is how I get around more detailed issues and also add some fun additions to my images.
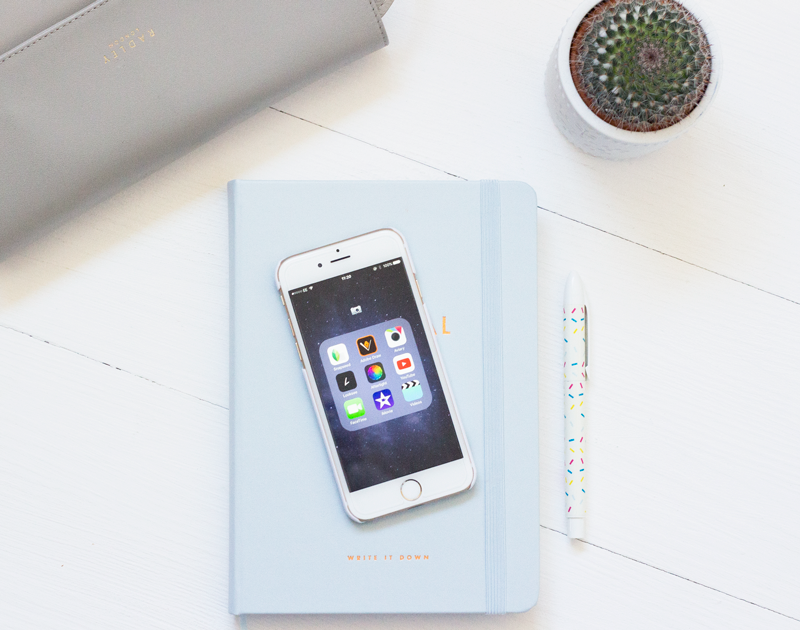
Whenever I see photography posts in the blogosphere there is always the common theme of not needing a DSLR and using your iPhone instead. I've written those words myself and I can imagine after a while that they can become incredibly jarring. The majority of us own some sort of smart phone. And right now we're incredibly lucky that those phones have brilliant cameras and with every new release, they get even better. However upon first glance, they can look pretty poor but once you get to know the functions and how to make the most out of them you can achieve incredible images.
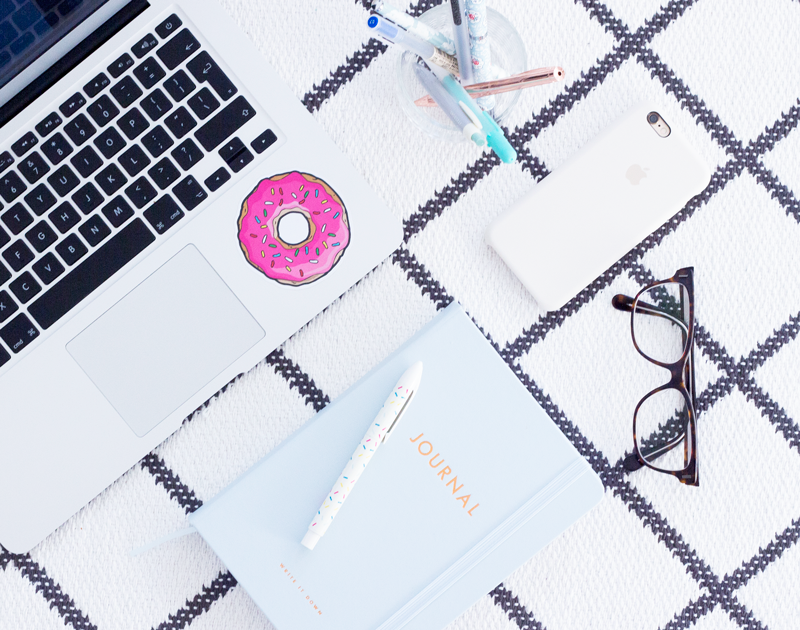
This post should probably begin with a large disclaimer, I'm not a big lover of editing my photographs. It was a running joke during my degree just how much I disliked Photoshop and how I had absolutely no desire to learn about how to make someone grow a third eye. Now, fortunately because it's a program that I use on a daily basis, I've learnt how to address its complexities. I'm aware of how daunting it can look when you're new to editing. Today I'm going to be sharing exactly how I edit my photographs and breaking down the process, it's not as scary as it might seem.
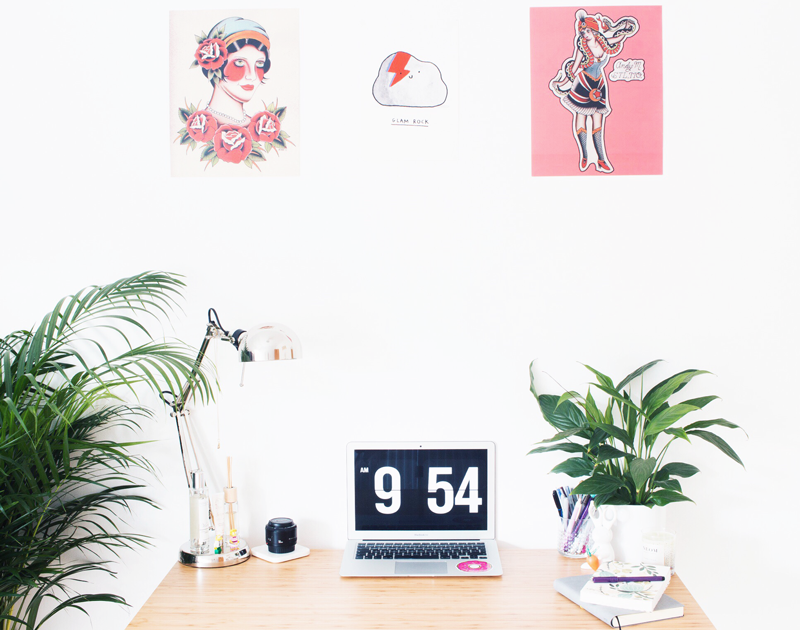
If there is one thing that all content creators can agree on, it's that when comes to the colder months trying to photograph anything is an absolute nightmare. Bright and airy images are totally my thing, so I still want to maintain that aesthetic throughout the year and here are the best ways I've found to still achieve that look even when it's absolutely miserable outside.
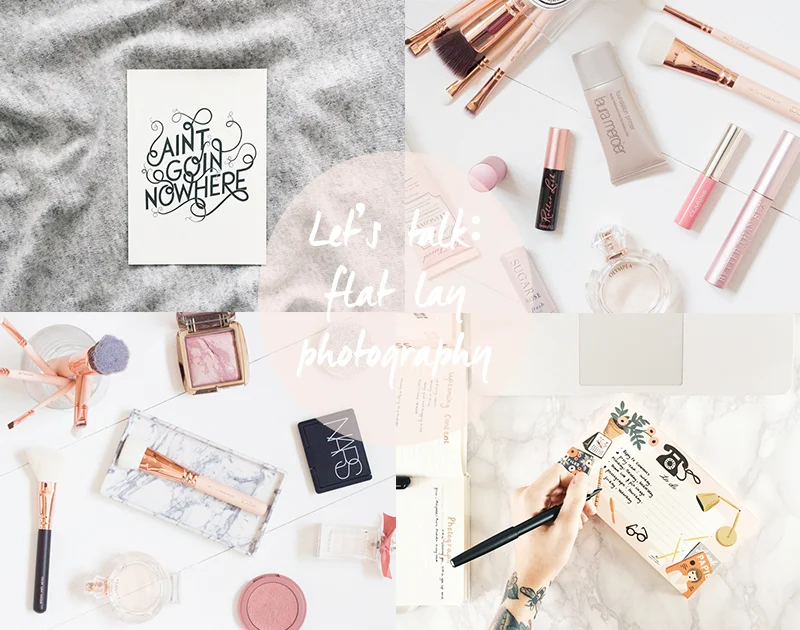
I've been a lover of flat lay photography for years. During my degree I produced an entire book surrounding the flat lay aesthetic and ever since it's been something I've loved to incorporate into my blog images and Instagram. So today I thought it would be fun to talk about the ever popular style and what makes a really good flat lay.
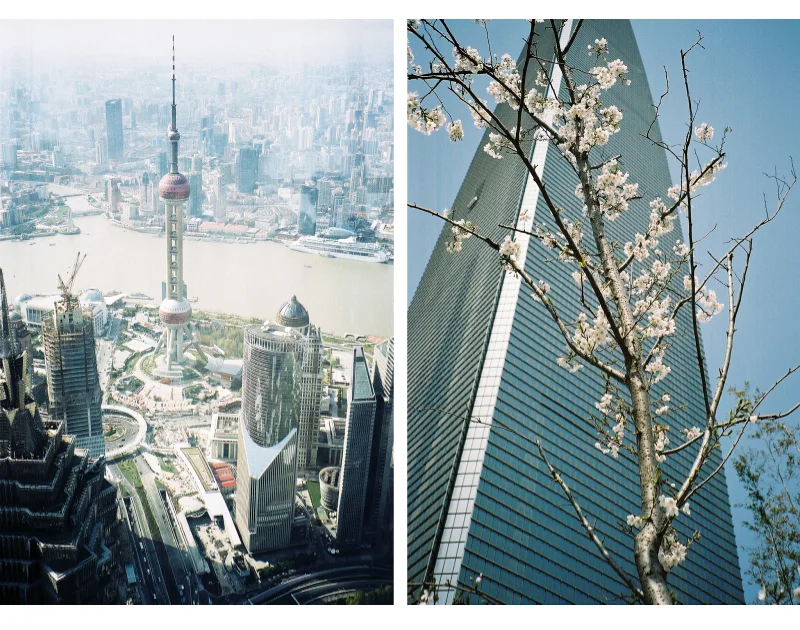
I'm a true believer that you don't need to have a world of knowledge or the most expensive equipment behind you to take a great picture. There are a few key steps to follow when creating awesome imagery and here are the ones I think are the most important to practice.
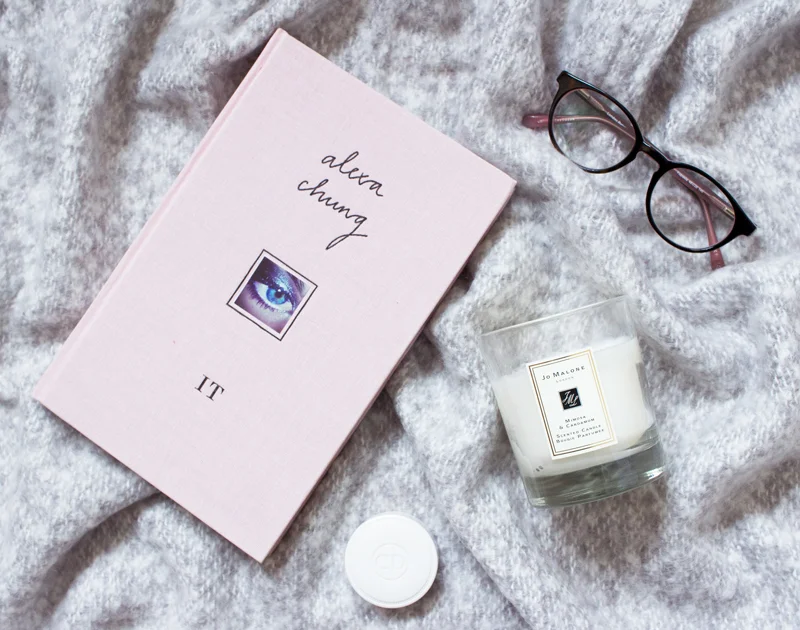
Finding different backgrounds for my photographs is one of my favourite things to do. I've never been one for just a plain setting, I love playing around with texture and patterns to enhance what I'm photographing. As I'm often asked what backgrounds I use for my images I thought I would round up my favourites for you today.
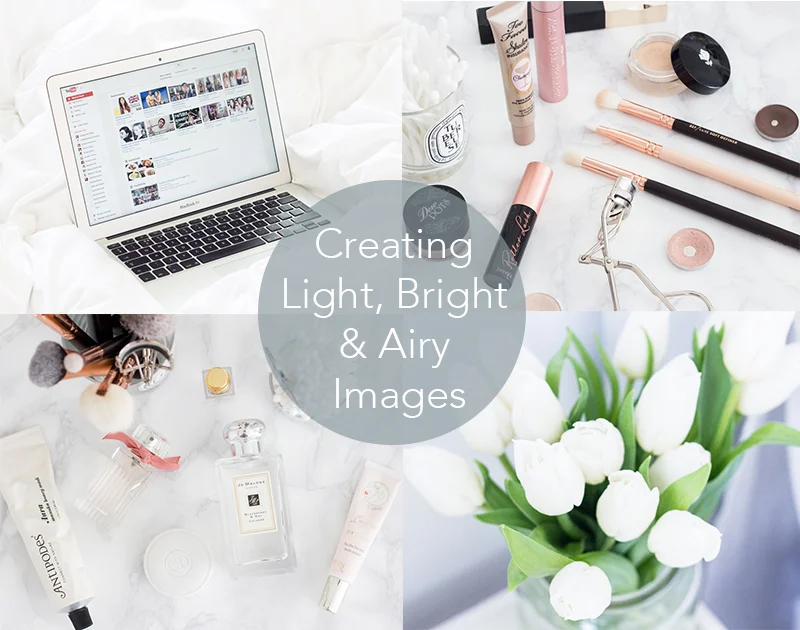
A question I'm frequently asked is how I get my images so bright & airy. There are a few key elements to take into consideration when going for this aesthetic. Over the years, I've really practiced the art of getting such airy images and here are the best lessons I can share.
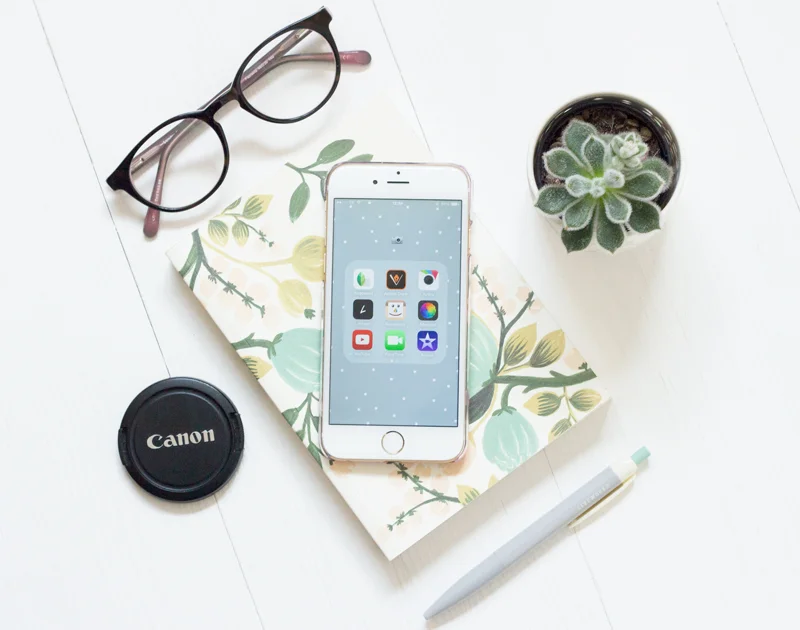
Discovering new photo editing apps is akin to my love for discovering a new exfoliating toner. There is a huge array available, some good, some bad and some are just really damn difficult to use. So today I'm sharing with you 3 of my favourite photo editing apps and a look at how I use them.
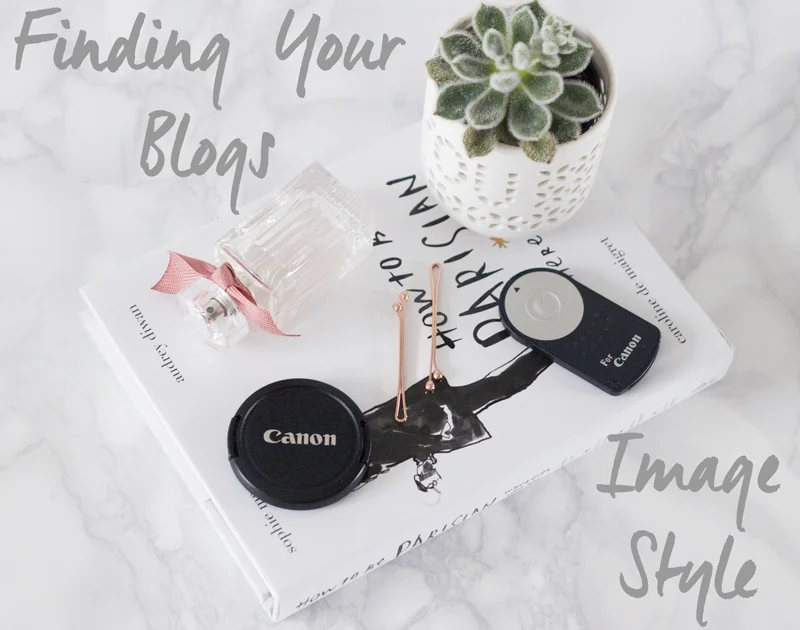
Over the years that I've been doing this whole blogging thing I've really honed in on my image style. I've studied photography for 6 years in total so I've had a lot of to time to find my feet and I don't think your style really stops evolving. Initially finding your groove is a difficult process but I've learnt a few ways to simplify it.
Taking pictures is something that I do on a daily basis. Whether it’s setting my camera up on my tripod in front of a carefully curated still life set up for a blog post or getting my phone out to take a quick snap of the dogs when I’m walking them, it’s something I do without much thought. It’s been 12 years since I started seriously taking photographs and during that time I’ve learned an abundance of things so I thought I’d share them with you in case you’re just starting out on your photography journey. There is so much noise surrounding photography and all the things you should and you shouldn't be doing but so much of it's down to personal preference and what works for you.